

If you are craving a crunchy, juicy, and utterly satisfying snack that feels just like your favorite takeout but made with care at home, you are going to fall in love with this Homemade Chicken Tenders Recipe. These tenders are perfectly crispy on the outside with that golden, crackly crust and so tender and flavorful on the inside thanks to a simple yet magical batter. Whether it’s a family dinner, a game day treat, or just because you deserve some comfort food, these chicken tenders deliver every time in both taste and texture.
Ingredients You’ll Need
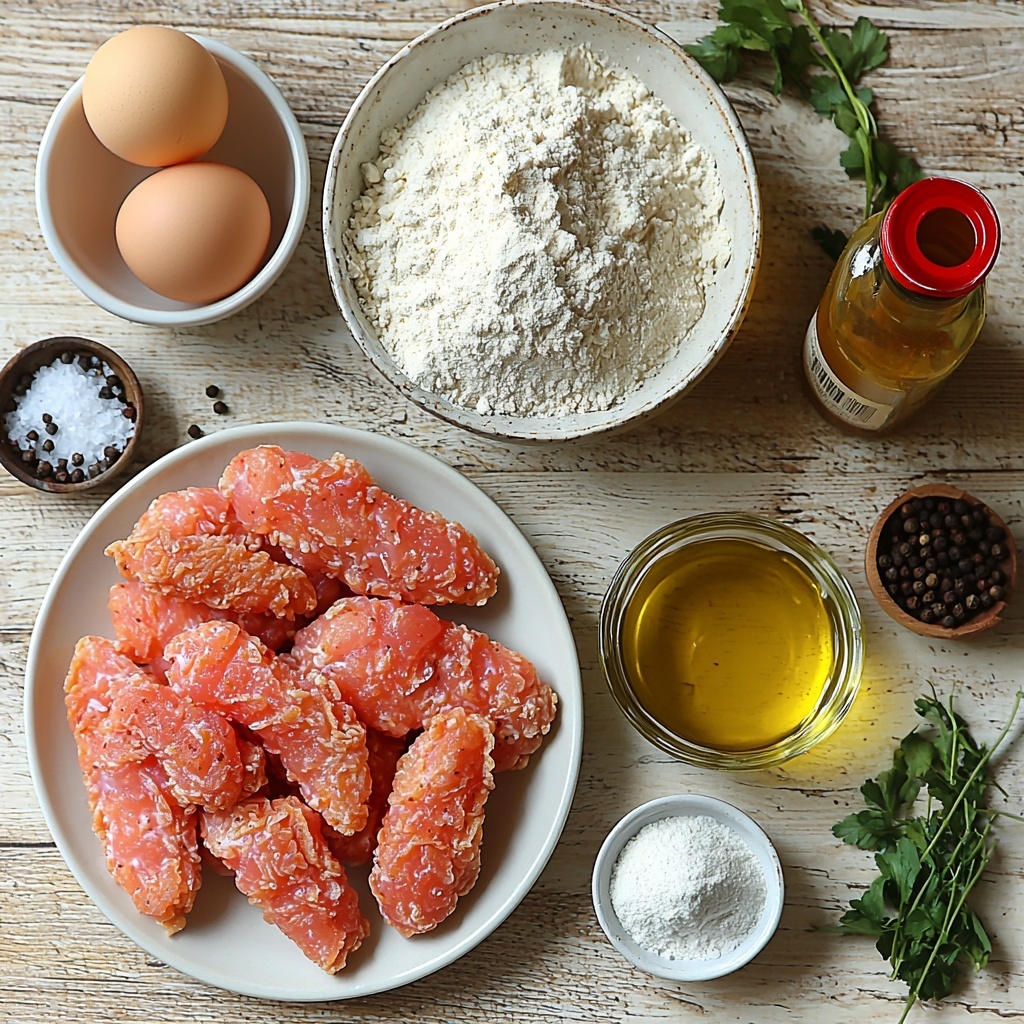
What makes this Homemade Chicken Tenders Recipe so special is how a handful of simple, everyday ingredients come together to create something extraordinary. Each ingredient plays a crucial role— from the tender chicken that’s the star of the dish, to the seasoning that punches up the flavor, and the buttermilk which keeps everything juicy and tender.
- 1 lb chicken tenderloins: The perfect size and tenderness for quick cooking and juicy bites.
- 1 cup all purpose flour: Creates that essential crispy coating when fried.
- 1 teaspoon baking powder: Adds lightness and extra crunch to the batter.
- 1/2 teaspoon kosher salt: Essential for enhancing the overall flavor of the chicken.
- 1/2 teaspoon black pepper: Gives a subtle warmth and slight kick.
- 1/2 teaspoon garlic powder: Adds savory depth and a hint of aromatic perfection.
- 3/4 cup buttermilk: Tenderizes the chicken and adds a tangy richness.
- 1 large egg: Helps bind the coating to the chicken for maximum crunchiness.
- 2 teaspoons hot sauce: A gentle heat boost that brightens the buttermilk dip.
- Oil for frying: Use a neutral oil to achieve that golden, crispy crust.
How to Make Homemade Chicken Tenders Recipe
Step 1: Prepare the Dry Mix
Start by whisking together the flour, baking powder, kosher salt, black pepper, and garlic powder in a large bowl. This blend not only seasons the chicken but also helps the coating puff up nicely when fried, giving you that glorious crunch you’re craving.
Step 2: Mix the Wet Ingredients
In a separate bowl, combine the buttermilk, egg, and hot sauce. The buttermilk is the secret ingredient here, as it tenderizes the chicken and lends a pleasant tang, while the egg ensures everything sticks together perfectly. The hot sauce adds just the right touch of zing to keep things lively.
Step 3: Heat the Oil
Fill a heavy skillet with about 3 inches of oil and heat it to 325°F. Maintaining the right temperature is key for a crisp exterior without overcooking the inside. Too hot, and the crust burns; too cool, and the coating soaks up oil and becomes greasy. Patience matters!
Step 4: Coat the Chicken Tenders
Dredge each chicken tender first in the dry flour mixture, then dip it fully into the wet buttermilk mixture, and finally coat it again in the flour. Press the flour onto the surface well so the coating clings and forms a thick, crunchy crust. This double-dip technique creates that irresistible texture.
Step 5: Fry to Golden Perfection
Carefully place the coated tenders into the hot oil in batches so they don’t overcrowd. Fry each side for 3 to 5 minutes until a beautiful golden-brown crust forms and the internal temperature reads 165°F for juicy, safe-to-eat chicken. Flip gently and enjoy the enticing sizzle.
Step 6: Rest and Repeat
Transfer the cooked tenders to a wire rack; this keeps them crispy by allowing any excess oil to drain away. Repeat the process with the remaining chicken so you enjoy fresh, hot tenders every time.
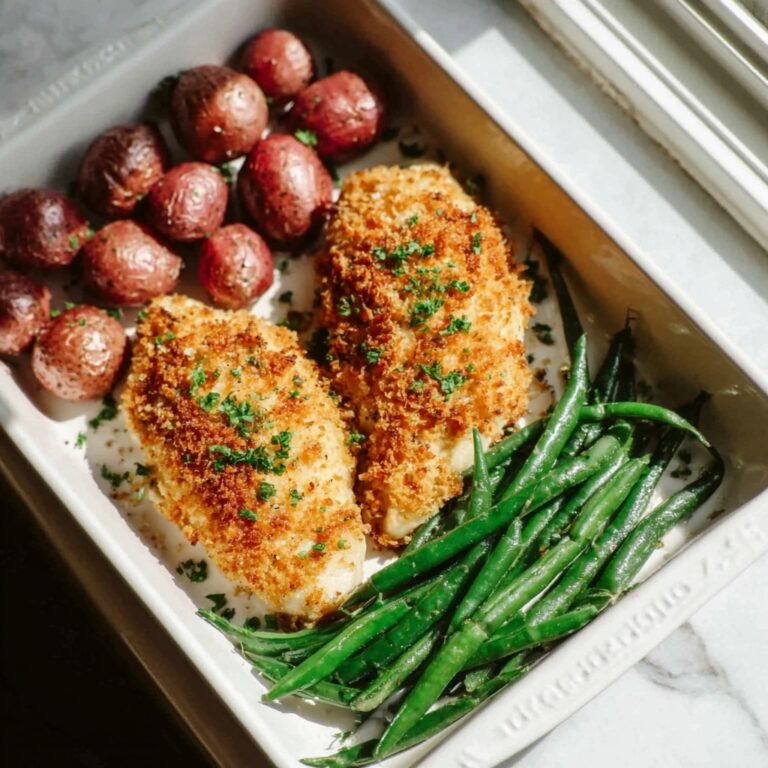
How to Serve Homemade Chicken Tenders Recipe
Garnishes
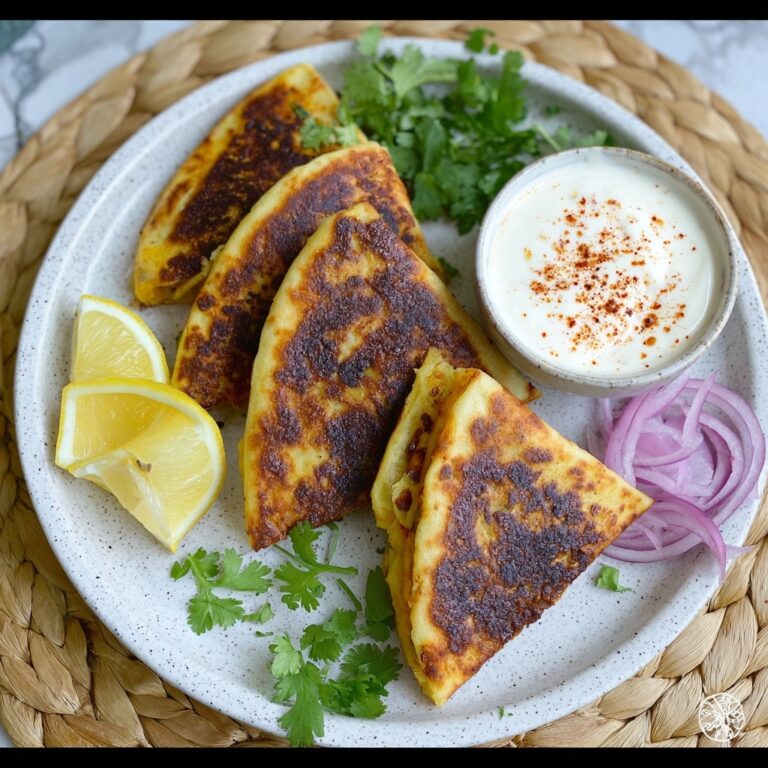
Simple garnishes can elevate your homemade chicken tenders from delicious to irresistible. Try a sprinkle of freshly chopped parsley or a dash of smoked paprika for color and a slight smoky kick. Lemon wedges also add a bright, fresh contrast that cuts through the richness beautifully.
Side Dishes
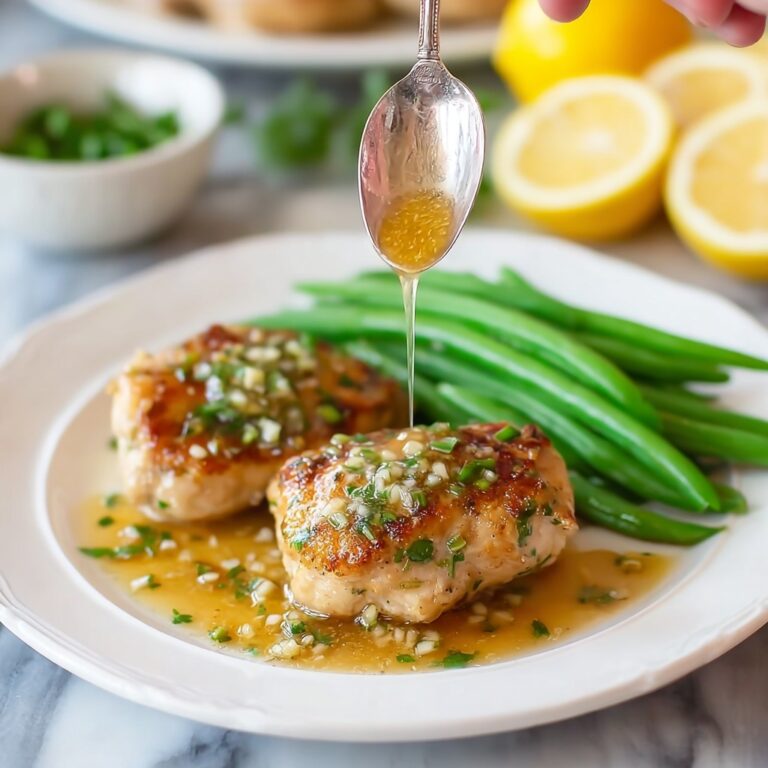
These crispy tenders pair wonderfully with classic sides like crispy fries, coleslaw, or a fresh garden salad. For a heartier meal, consider serving them with creamy mashed potatoes or roasted vegetables for balance and so many textures to enjoy.
Creative Ways to Present
Why not jazz up your Homemade Chicken Tenders Recipe by turning it into a fun finger-food platter? Serve alongside an array of dipping sauces—think honey mustard, barbecue, spicy ranch, or a cool blue cheese dressing. For a creative twist, stack tenders in a sandwich or wrap them with lettuce, pickles, and your favorite sauce for a handheld delight.
Make Ahead and Storage
Storing Leftovers
If you happen to have any leftovers (which is rare because they get eaten fast!), store them in an airtight container in the refrigerator for 3 to 4 days. Keeping them properly sealed helps maintain their crispness and flavor for your next meal.
Freezing
These chicken tenders freeze wonderfully. Arrange fried tenders in a single layer on a baking sheet and freeze until solid before transferring to a freezer bag. Freeze for up to 1 month. This method prevents them from sticking and preserves their texture when you’re ready to enjoy them again.
Reheating
The best way to reheat these tenders is in the oven or an air fryer at 350°F for about 10-15 minutes. This gently warms them up while bringing back their crispy exterior, unlike a microwave that can leave the crust soggy. Just keep an eye so they don’t dry out.
FAQs
Can I use chicken breasts instead of tenderloins?
Absolutely! Just slice the chicken breasts into strips about the size of tenderloins. The cooking time might need a little adjustment, but the coating and flavors will be just as delicious.
Is buttermilk necessary in the recipe?
While buttermilk is key for tenderizing and adding flavor, you can substitute regular milk mixed with a tablespoon of lemon juice or vinegar if needed. Just let it sit for a few minutes to thicken before using.
What oil is best for frying chicken tenders?
Neutral oils with high smoke points like canola, peanut, or vegetable oil are ideal. They fry the tenders evenly without imparting any unwanted flavors.
Can I bake the chicken tenders instead of frying?
Yes, baking is an option for a lighter version. Coat as directed and bake at 425°F for 15-20 minutes, flipping halfway through. They won’t be quite as crispy but will still be tasty and satisfying.
How do I know when the chicken tenders are cooked through?
The most reliable way is to use a meat thermometer and check that the internal temperature reaches 165°F. The coating should be golden and crisp when they’re done.
Final Thoughts
There’s something truly special about mastering a Homemade Chicken Tenders Recipe that delights every time and feels like a warm hug on a plate. With simple ingredients and easy steps, you can whip up a batch of these crispy, juicy tenders that everyone will ask for again and again. Give it a try soon—you might just find your new favorite go-to comfort food!
Print
Homemade Chicken Tenders Recipe
- Prep Time: 7 minutes
- Cook Time: 11 minutes
- Total Time: 18 minutes
- Yield: 4 servings
- Category: Main Course
- Method: Frying
- Cuisine: American
Description
Crispy, flavorful homemade chicken tenders made by double-dredging tenderloins in seasoned flour and buttermilk batter, then frying to golden perfection. Perfect for a quick family meal or game day snack.
Ingredients
Chicken
- 1 lb chicken tenderloins
Dry Ingredients
- 1 cup all purpose flour
- 1 teaspoon baking powder
- 1/2 teaspoon kosher salt
- 1/2 teaspoon black pepper
- 1/2 teaspoon garlic powder
Wet Ingredients
- 3/4 cup buttermilk
- 1 large egg
- 2 teaspoons hot sauce
For Frying
- Oil for frying (enough for 3 inches deep in skillet)
Instructions
- Prepare the dry mix: In a bowl, combine the flour, baking powder, kosher salt, black pepper, and garlic powder. Mix thoroughly to evenly distribute the seasonings.
- Prepare the wet mixture: In another bowl, whisk together the buttermilk, egg, and hot sauce until smooth and well combined. This will be the flavorful batter for the chicken.
- Heat the oil: Pour oil into a heavy skillet to a depth of about 3 inches and heat it to 325°F (163°C), using a thermometer to maintain accurate temperature for frying.
- Dredge the chicken: Coat each chicken tenderloin first in the seasoned flour mixture, then dip into the buttermilk batter, and finally dredge again in the flour mixture, pressing the coating firmly onto the chicken to create a thick crust.
- Fry the tenders: Carefully place the coated chicken tenders in the hot oil in batches to avoid overcrowding. Fry each side for 3 to 5 minutes or until golden brown and the internal temperature of the chicken reaches 165°F (74°C).
- Drain and cool: Remove fried chicken tenders with a slotted spoon and place them on a wire rack to drain excess oil and keep them crispy. Repeat the frying process with remaining tenders.
Notes
- Maintain oil temperature at 325°F to ensure even cooking and prevent sogginess.
- Using a wire rack instead of paper towels for draining keeps the coating crispier.
- Adjust hot sauce amount to control the level of heat/spice.
- Double dredging creates a thicker, crunchier crust.
- Use a digital meat thermometer for precise doneness.
