
“`html
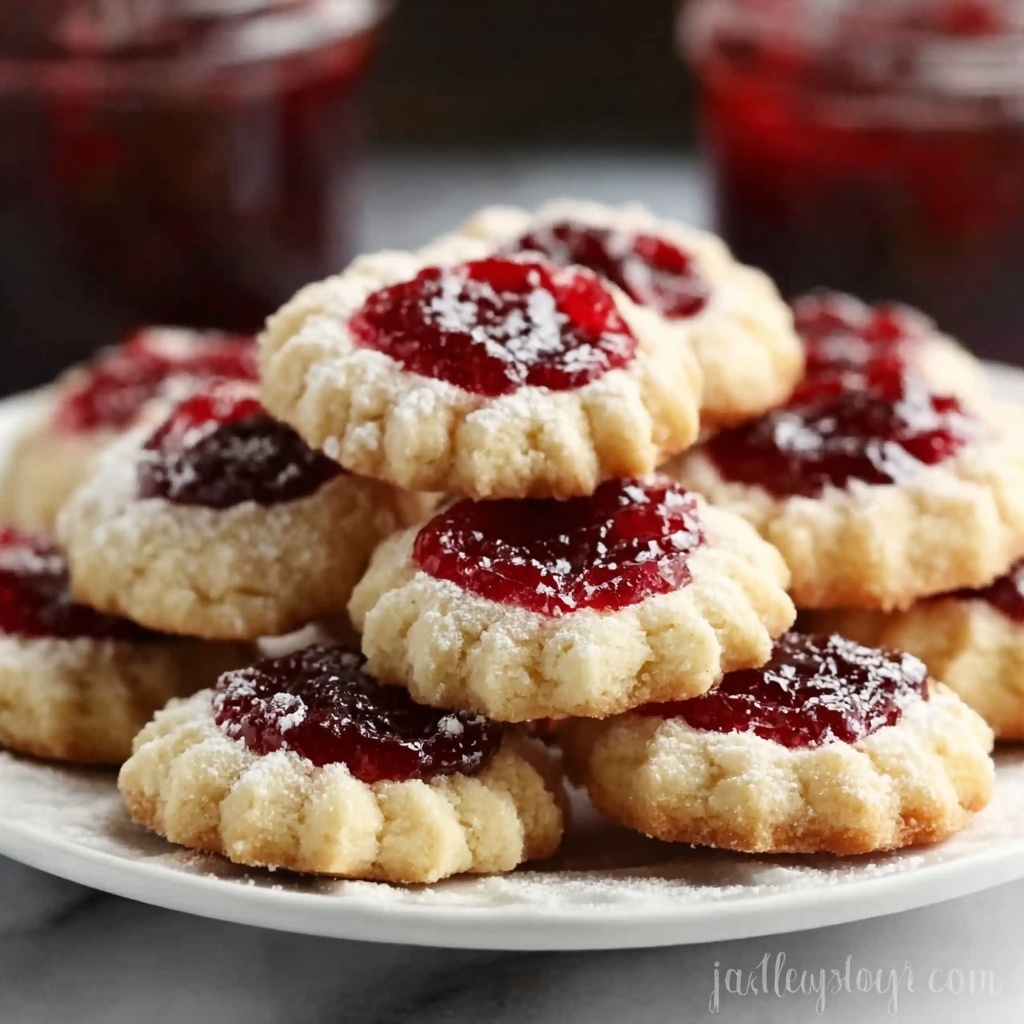
If you are looking for a delightful treat that balances buttery richness with a burst of fruity sweetness, look no further than this Raspberry Thumbprint Cookies Recipe. These charming little cookies are the perfect marriage of tender, melt-in-your-mouth dough and luscious raspberry jam nestled right in the center. Every bite feels like a warm hug from a childhood favorite, but with a sophisticated twist that’s bound to impress friends and family alike. Whether you’re baking for a special occasion or just because you crave something sweet and satisfying, this recipe is a guaranteed winner.
Ingredients You’ll Need
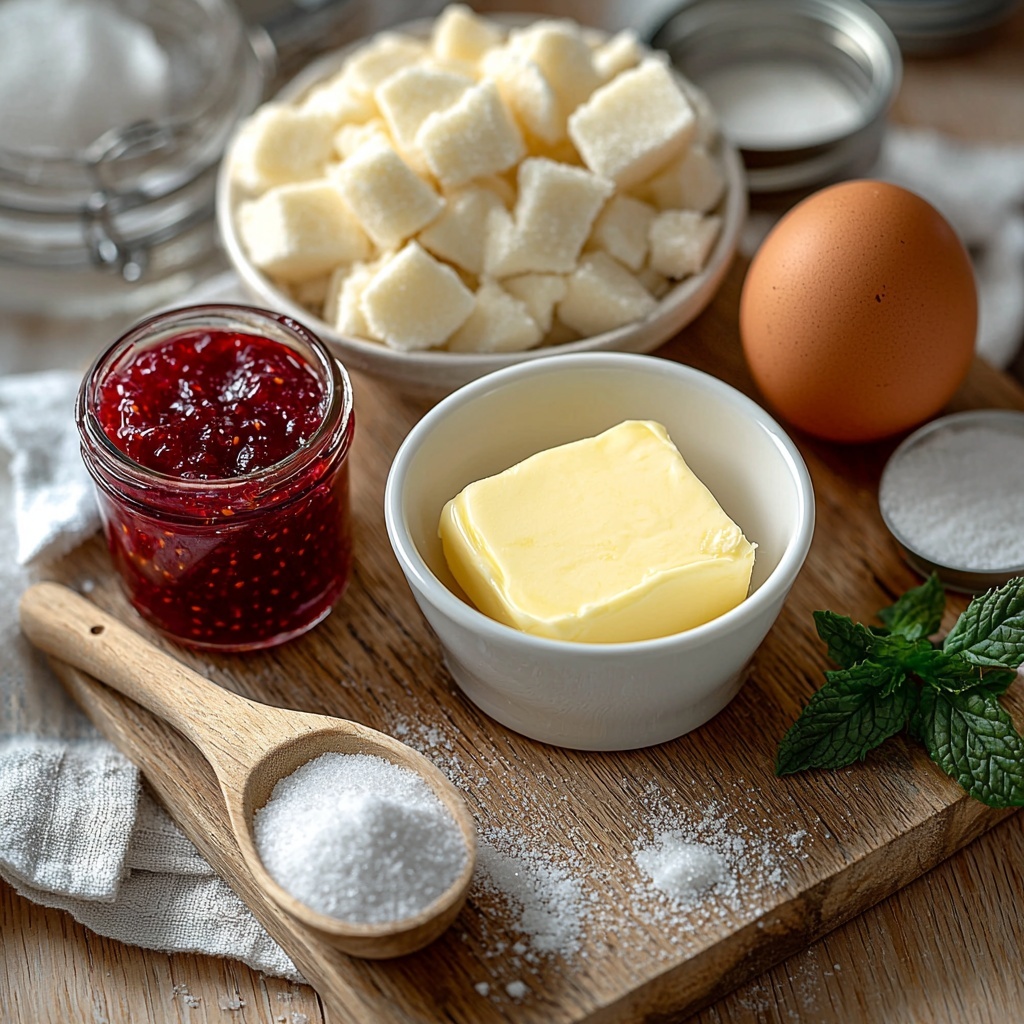
Each ingredient in this Raspberry Thumbprint Cookies Recipe is simple yet essential, creating a perfect balance of flavors and textures. From the creamy, softened butter to the bright pop of raspberry jam, these components work in harmony to make cookies that are irresistibly tender and wonderfully flavorful.
- 1 cup unsalted butter, softened: Provides a rich, creamy base for the dough and ensures a tender crumb.
- 1/2 cup granulated sugar: Adds necessary sweetness and helps to create a soft, light texture.
- 1 large egg: Binds the ingredients together and contributes to the cookie’s structure.
- 1 teaspoon vanilla extract: Infuses the dough with warm, inviting aroma and flavor.
- 2 cups all-purpose flour: The sturdy foundation that lends the cookies their shape and slight chewiness.
- 1/4 teaspoon salt: Enhances all the sweet flavors and balances the dough’s richness.
- 1/2 cup raspberry jam (or your favorite fruit jam): The star of the show, offering a burst of fruity sweetness in every thumbprint.
- Optional: powdered sugar for dusting: Adds a festive, delicate touch and a hint of extra sweetness.
How to Make Raspberry Thumbprint Cookies Recipe
Step 1: Prepare Your Baking Space
Start by preheating your oven to 350°F (175°C) and lining a baking sheet with parchment paper. This simple prep step helps prevent sticking and ensures your cookies will bake evenly and come off the sheet easily.
Step 2: Cream Together Butter and Sugar
In a large bowl, beat the softened butter and granulated sugar until the mixture is light and fluffy. This creaming process incorporates air, which gives your cookies a tender texture that practically melts in your mouth.
Step 3: Add the Egg and Vanilla
Mix in the egg and vanilla extract until the batter is smooth and homogenous. These add moisture and flavor complexity, making each cookie irresistible.
Step 4: Combine Dry Ingredients
Gradually fold in the all-purpose flour and salt until just combined. Avoid overmixing here — you want the dough to come together but stay soft and tender.
Step 5: Shape the Dough
Roll the dough into 1-inch balls and space them about 2 inches apart on your prepared baking sheet. This sizing and spacing allow the cookies to bake evenly without sticking together.
Step 6: Make Thumbprints
Press your thumb or the back of a spoon gently into the center of each dough ball to create a small well. This classic step forms the perfect little nest for your raspberry jam.
Step 7: Fill with Raspberry Jam
Carefully spoon about 1 teaspoon of raspberry jam into each indentation, being mindful not to overfill to avoid spills during baking. The jam will bubble and become gloriously glossy as the cookies bake.
Step 8: Bake to Perfection
Place the baking sheet in the preheated oven and bake for 12-15 minutes. Look for lightly golden edges and bubbling jam — that’s your signal that these beauties are ready to come out.
Step 9: Cool and Optional Dusting
Allow the cookies to cool for a few minutes on the baking sheet before transferring them to a wire rack to cool completely. If desired, dust with powdered sugar for a finishing touch that adds charm and sweetness.
How to Serve Raspberry Thumbprint Cookies Recipe
Garnishes
These cookies are lovely on their own, but a sprinkle of powdered sugar or a fresh raspberry on top can elevate their appearance and add a hint of fresh flavor. A tiny mint leaf next to the jam also adds a pop of color and a refreshing note.
Side Dishes
Serve Raspberry Thumbprint Cookies Recipe alongside a hot mug of tea, rich coffee, or even a glass of cold milk for the ultimate treat experience. They also pair wonderfully with lemon bars or simple shortbread for a charming dessert spread.
Creative Ways to Present
Arrange your Raspberry Thumbprint Cookies Recipe on a dainty tiered cake stand for a stunning afternoon tea display, or place them in colorful cupcake liners tied with a ribbon for beautiful gift packaging. Their inviting look makes them perfect for festive platters and cookie exchanges.
Make Ahead and Storage
Storing Leftovers
Store any leftover cookies in an airtight container at room temperature. They will stay fresh and tasty for 3-4 days, retaining their soft texture and fruity centers without any fuss.
Freezing
If you want to enjoy these cookies later, they freeze beautifully. Place them in a freezer-safe container and separate layers with parchment paper. Frozen Raspberry Thumbprint Cookies Recipe can be kept for up to 3 months. When ready to enjoy, thaw at room temperature.
Reheating
For that freshly baked warmth, simply microwave a cookie for 10-15 seconds or warm in a 300°F oven for 5 minutes. This brings back that perfect gooey jam center and slightly crisp edges, making them taste like they’re straight from the oven.
FAQs
Can I use other types of jam besides raspberry?
Absolutely! While raspberry jam is classic and pairs beautifully with the buttery dough, you can swap in strawberry, apricot, or even blackberry jam depending on your preference or what you have on hand.
Do I need to chill the dough before baking?
This recipe doesn’t require chilling the dough. Because the dough is soft and shaped into balls immediately, chilling is not necessary and the cookies bake up beautifully as is.
How do I make sure my thumbprint cookies don’t spread too much?
Be sure to use softened but not melted butter, and handle the dough gently without overmixing. Also, chill the dough balls briefly if your kitchen is warm to help maintain their shape.
Can I make these cookies gluten-free?
Yes! Substitute the all-purpose flour with a gluten-free flour blend that is suitable for baking. Just be sure your blend contains xanthan gum or another binder for best results.
What is the best way to prevent the jam from overflowing during baking?
Use the recommended amount of about 1 teaspoon of jam per indentation and avoid overfilling. Also, creating a slightly deeper well in the dough can help contain the jam as it bakes.
Final Thoughts
This Raspberry Thumbprint Cookies Recipe is a lovable classic that’s easy to make and sure to delight everyone who tries it. With simple ingredients and straightforward steps, it’s the kind of recipe you’ll want to return to for holidays, gatherings, or cozy nights in. Give these cookies a whirl and get ready to fall in love with their buttery texture and sweet, fruity centers—baking joy delivered one thumbprint at a time.
“`
Print
Raspberry Thumbprint Cookies Recipe
- Prep Time: 15 minutes
- Cook Time: 15 minutes
- Total Time: 30 minutes
- Yield: 24 cookies
- Category: Dessert
- Method: Baking
- Cuisine: American
Description
These Raspberry Thumbprint Cookies are delightful buttery treats filled with sweet and tangy raspberry jam. Perfectly crisp on the edges and soft in the center, these classic cookies are easy to make and ideal for sharing during holidays or any special occasion.
Ingredients
Cookie Dough
- 1 cup unsalted butter, softened
- 1/2 cup granulated sugar
- 1 large egg
- 1 teaspoon vanilla extract
- 2 cups all-purpose flour
- 1/4 teaspoon salt
Filling
- 1/2 cup raspberry jam (or your favorite fruit jam)
Optional
- Powdered sugar for dusting
Instructions
- Preheat the oven: Preheat your oven to 350°F (175°C) and line a baking sheet with parchment paper to prevent sticking and make cleanup easy.
- Cream butter and sugar: In a large bowl, beat the softened butter and granulated sugar together until the mixture is light and fluffy, which ensures a tender cookie texture.
- Add egg and vanilla: Mix in the egg and vanilla extract until the batter is smooth and well combined, enhancing the flavor and richness of the dough.
- Incorporate dry ingredients: Gradually add the all-purpose flour and salt to the wet mixture, mixing gently until just combined without overworking the dough to keep the cookies tender.
- Shape cookies: Roll the dough into 1-inch diameter balls and place them spaced about 2 inches apart on the prepared baking sheet, allowing enough room for spreading.
- Create indentations: Using your thumb or the back of a spoon, press gently into the center of each dough ball to form a small well for the jam.
- Fill with jam: Spoon about 1 teaspoon of raspberry jam into each indentation, being careful not to overfill to prevent the jam from spilling over.
- Bake: Bake the cookies for 12-15 minutes, or until the edges turn lightly golden and the jam is bubbling, indicating they are perfectly baked.
- Cool: Let the cookies cool on the baking sheet for a few minutes to set, then transfer them to a wire rack to cool completely.
- Optional dusting: For an extra festive look, dust the cooled cookies lightly with powdered sugar before serving.
Notes
- Make sure the butter is softened to room temperature for easier creaming and better texture.
- Do not overmix the dough to avoid tough cookies.
- Use your favorite fruit jam for different flavors, such as apricot or strawberry.
- Store cookies in an airtight container at room temperature for up to one week.
- For a gluten-free version, substitute all-purpose flour with an equal amount of gluten-free baking flour blend.

