
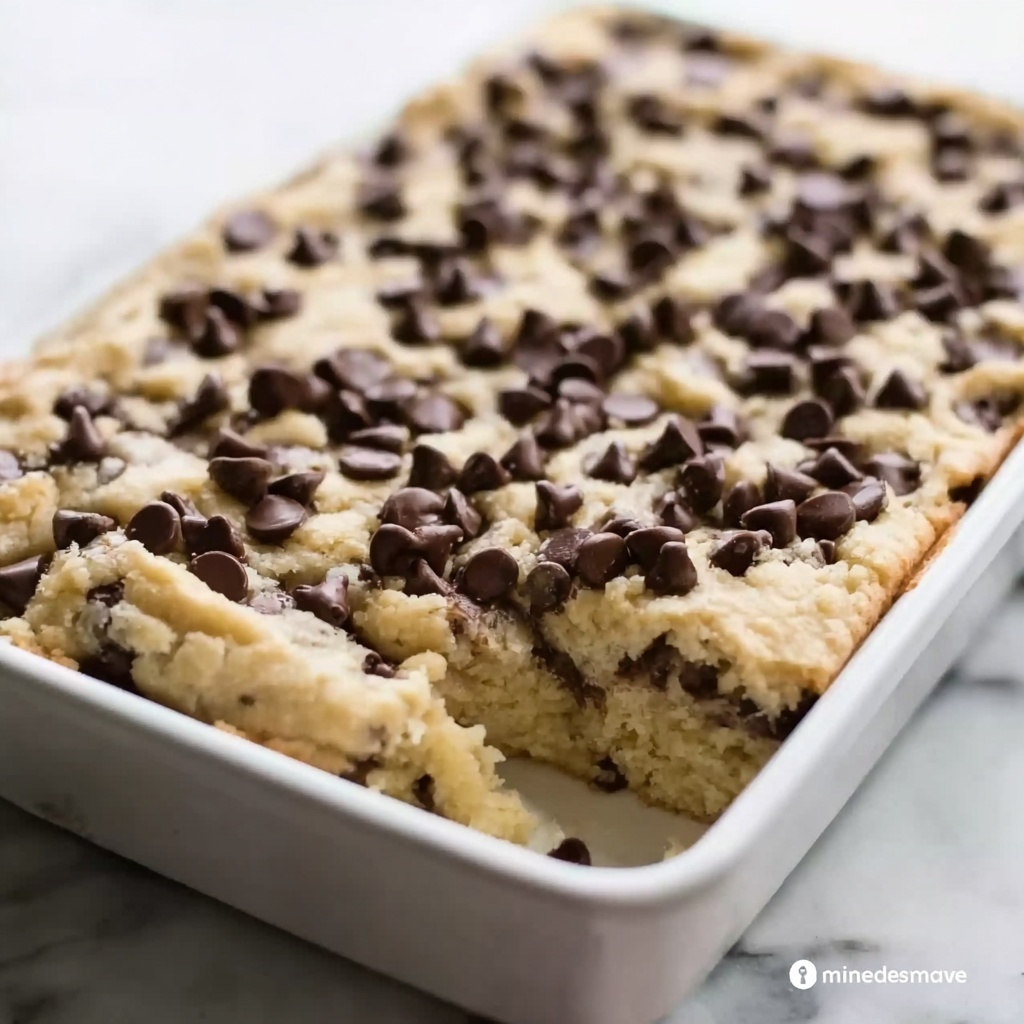
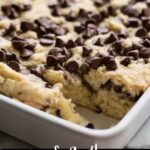
If you’re craving a dessert that brings the best of chewy cookies and tender cake together in one irresistible package, this Chocolate Chip Cookie Bars Recipe is exactly what you need. Imagine the warm aroma of vanilla and melted butter filling your kitchen as golden bars studded with melty chocolate chips come out perfectly baked, boasting a soft, chewy texture with just the right amount of sweetness. Easy to make and perfect for sharing, these bars are a guaranteed crowd-pleaser whether it’s for a family gathering, a casual snack, or when you just want a comforting treat made from simple ingredients you probably already have on hand.
Ingredients You’ll Need
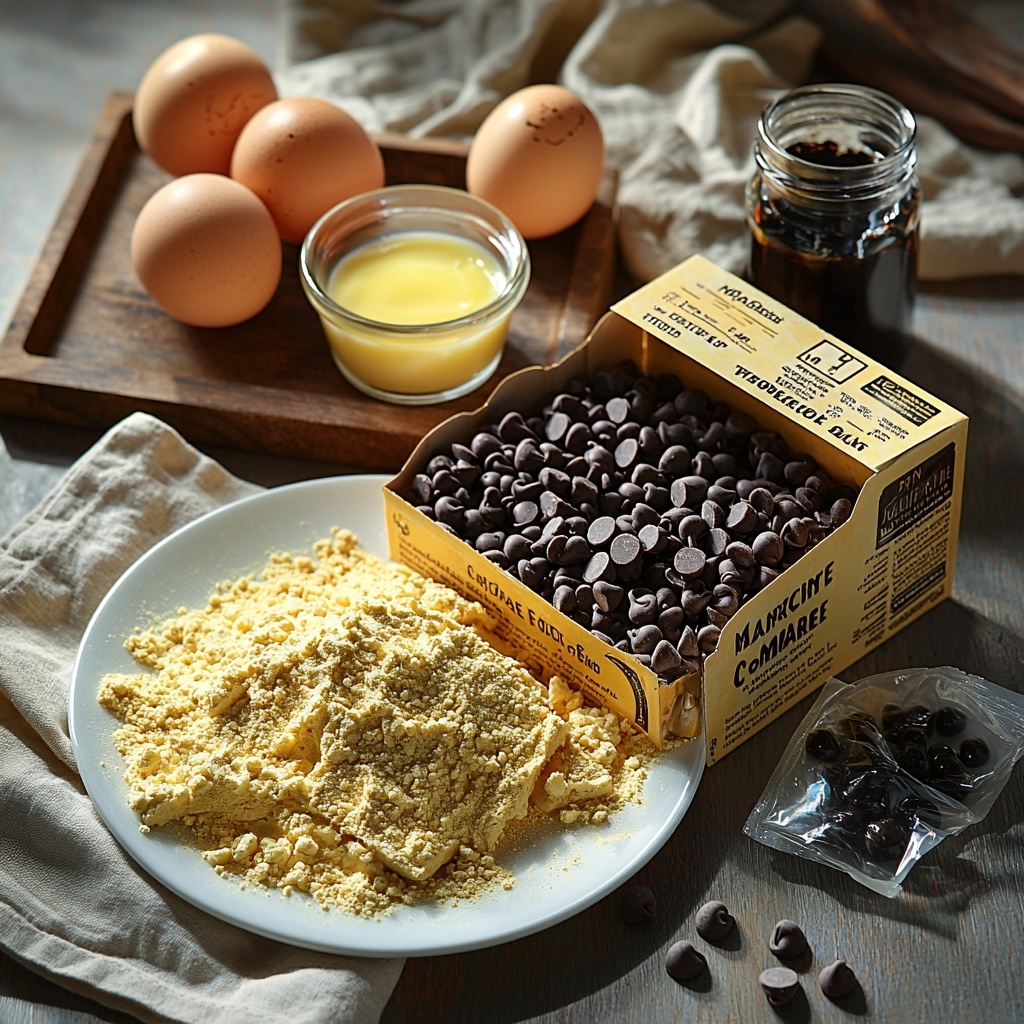
Keeping things straightforward yet delicious is the key to this recipe. The ingredients are simple, but each one plays an essential role in delivering that classic cookie bar flavor and texture that feels homemade without any fuss.
- Yellow cake mix: This serves as the base, giving the bars a soft crumb and a golden color that’s as inviting as it is tasty.
- Melted butter: Adds richness and moisture, ensuring the texture stays tender and not dry.
- Large eggs: Help bind everything together while adding a subtle richness that enhances the overall flavor.
- Vanilla extract: A splash of vanilla deepens the sweetness and adds warmth to every bite.
- Chocolate chips: The star ingredient that creates pockets of melty chocolate, elevating each square into a decadent treat.
How to Make Chocolate Chip Cookie Bars Recipe
Step 1: Get your oven ready
Preheat your oven to 350°F (175°C). While it’s warming up, grease a 9×13-inch baking dish or line it with parchment paper—this little step will make sure the bars come out cleanly, ready for serving.
Step 2: Mix up the batter
In a large bowl, combine the yellow cake mix, melted butter, eggs, and vanilla extract. Stir everything together until the batter is smooth and uniform, which means the texture will be just right in the finished bars.
Step 3: Fold in the chocolate chips
With the batter ready, gently fold in the chocolate chips, making sure they’re evenly distributed throughout. These little morsels are what make this recipe stand out, giving you that perfect blend of cookie and chocolate in every bite.
Step 4: Spread the batter
Pour and press the batter evenly into your prepared baking dish. Distributing it uniformly ensures that your bars will bake evenly with a nicely golden crust on all sides.
Step 5: Bake to perfection
Place the dish in the oven and bake for 20-25 minutes. You’ll know they’re done when the edges turn a lovely golden brown and the center looks set, not gooey. Resist the urge to overbake, as you want those bars to stay soft and chewy.
Step 6: Cool and cut
Once baked, let the bars cool completely in the pan. This cooling period allows them to firm up, making it easier to cut into neat squares for serving. Then, simply slice and enjoy your delightful creation!
How to Serve Chocolate Chip Cookie Bars Recipe
Garnishes
Feel free to dust your cookie bars with a little powdered sugar or drizzle warm chocolate or caramel sauce on top for an extra touch of indulgence. You can also add a few extra chocolate chips or a sprinkle of sea salt right after baking for a beautiful contrast in flavor.
Side Dishes
These cookie bars pair wonderfully with a scoop of vanilla ice cream or a dollop of whipped cream. For a more refreshing side, sliced fresh berries or a cold glass of milk make perfect accompaniments, balancing the sweetness and adding textural contrast.
Creative Ways to Present
For parties or gifting, cut the bars into smaller bite-sized pieces and serve on a decorative platter with toothpicks. Wrapping individual bars in parchment paper tied with a ribbon makes a charming homemade gift that anyone would appreciate.
Make Ahead and Storage
Storing Leftovers
Once cooled, store leftover cookie bars in an airtight container at room temperature. They will stay soft and delicious for up to 3 days, making for an easy grab-and-go treat whenever the craving hits.
Freezing
If you want to keep them longer, you can freeze the cookie bars by wrapping them tightly in plastic wrap and then placing in a freezer-safe container or bag. They’ll keep well for up to 2 months and can be thawed overnight in the fridge before enjoying.
Reheating
To bring back that just-baked warmth, reheat individual bars in the microwave for about 10-15 seconds or pop them in a low oven for a few minutes. This will revive their gooey texture and melty chocolate goodness.
FAQs
Can I use chocolate chunks instead of chips?
Absolutely! Chocolate chunks or even a mix of chips and chunks work wonderfully, adding varied texture and chocolate pockets throughout the bars.
Is it necessary to use a cake mix?
The cake mix keeps things simple and consistent, but if you prefer, you could experiment with homemade cake batter or cookie dough to create your own twist on this recipe.
Can I add nuts or other mix-ins?
Definitely! Chopped walnuts, pecans, or even dried fruit can be folded into the batter along with the chocolate chips for added flavor and texture.
How thick should the batter layer be in the pan?
Spread the batter evenly to fill the 9×13 pan about half to three-quarters full. This ensures that the bars bake evenly without being too thin or doughy.
Can I make these bars gluten-free?
For a gluten-free version, look for a gluten-free yellow cake mix and double-check other ingredients to be sure they meet your dietary needs.
Final Thoughts
Personally, this Chocolate Chip Cookie Bars Recipe has become a go-to whenever I want a fuss-free but utterly delicious treat that feels like a warm hug on a plate. It’s quick to whip up, loved by all ages, and brings together the best of cookies and cake in the most delightful way. Give it a try—you might just find your new favorite dessert!
Print
Chocolate Chip Cookie Bars Recipe
- Prep Time: 10 minutes
- Cook Time: 25 minutes
- Total Time: 35 minutes
- Yield: 16 servings
- Category: Dessert
- Method: Baking
- Cuisine: American
Description
Delicious and easy-to-make cookie bars featuring a simple batter made from yellow cake mix, butter, eggs, vanilla, and rich chocolate chips. These bars bake up soft and chewy with golden edges, perfect for a quick dessert or snack.
Ingredients
Cookie Bars Ingredients
- 1 box yellow cake mix (approximately 15.25 oz)
- 1/2 cup melted butter (1 stick)
- 2 large eggs
- 1 tsp vanilla extract
- 1 bag (12 oz) chocolate chips
Instructions
- Preheat Oven: Preheat your oven to 350°F (175°C). Grease a 9×13-inch baking dish or line it with parchment paper to prevent sticking.
- Mix Batter: In a large bowl, combine the yellow cake mix, melted butter, eggs, and vanilla extract. Stir the ingredients together until you have a smooth, uniform batter without lumps.
- Add Chocolate Chips: Gently fold in the 12 ounces of chocolate chips ensuring they are evenly distributed throughout the batter for consistent chocolate bursts in every bar.
- Spread Batter: Pour and spread the batter evenly into the prepared baking dish. Press down lightly to create an even surface for uniform baking.
- Bake: Place the dish in the preheated oven and bake for 20-25 minutes, or until the edges turn golden brown and the center is fully set but still soft to the touch.
- Cool and Serve: Remove from oven and allow the bars to cool completely in the baking dish. Once cooled, cut into 16 squares and serve. Enjoy your chewy, chocolate-studded cookie bars!
Notes
- You can substitute chocolate chips with nuts or dried fruits if desired.
- Make sure to let the bars cool fully before cutting to avoid crumbling.
- For a richer flavor, use browned butter instead of melted butter.
- Store bars in an airtight container at room temperature for up to 3 days.
- Reheat briefly in the microwave for a warm, gooey treat.