
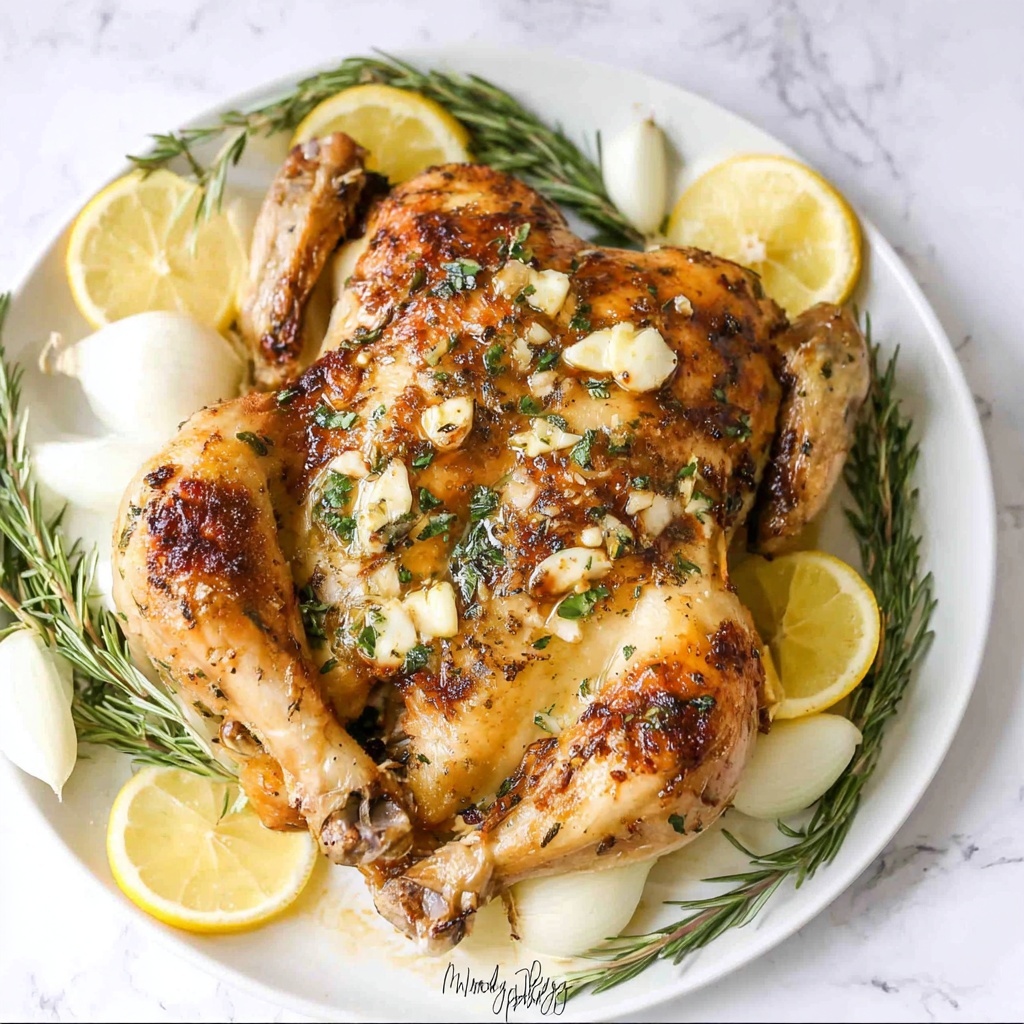
If you’re looking for a show-stopping roast chicken that balances irresistibly crispy skin with juicy, herb-infused meat, then you absolutely must try this Crispy Oven-Roasted Spatchcock Chicken with Herbs and Garlic Recipe. Breaking away from the traditional whole roast, spatchcocking the chicken ensures even cooking and speeds up roasting time, while the aromatic blend of rosemary, thyme, and garlic creates layers of flavor that truly sing. This method guarantees a golden-brown, crunchy exterior that’s packed with savory goodness inside—a perfect centerpiece for any meal that invites compliments.
Ingredients You’ll Need
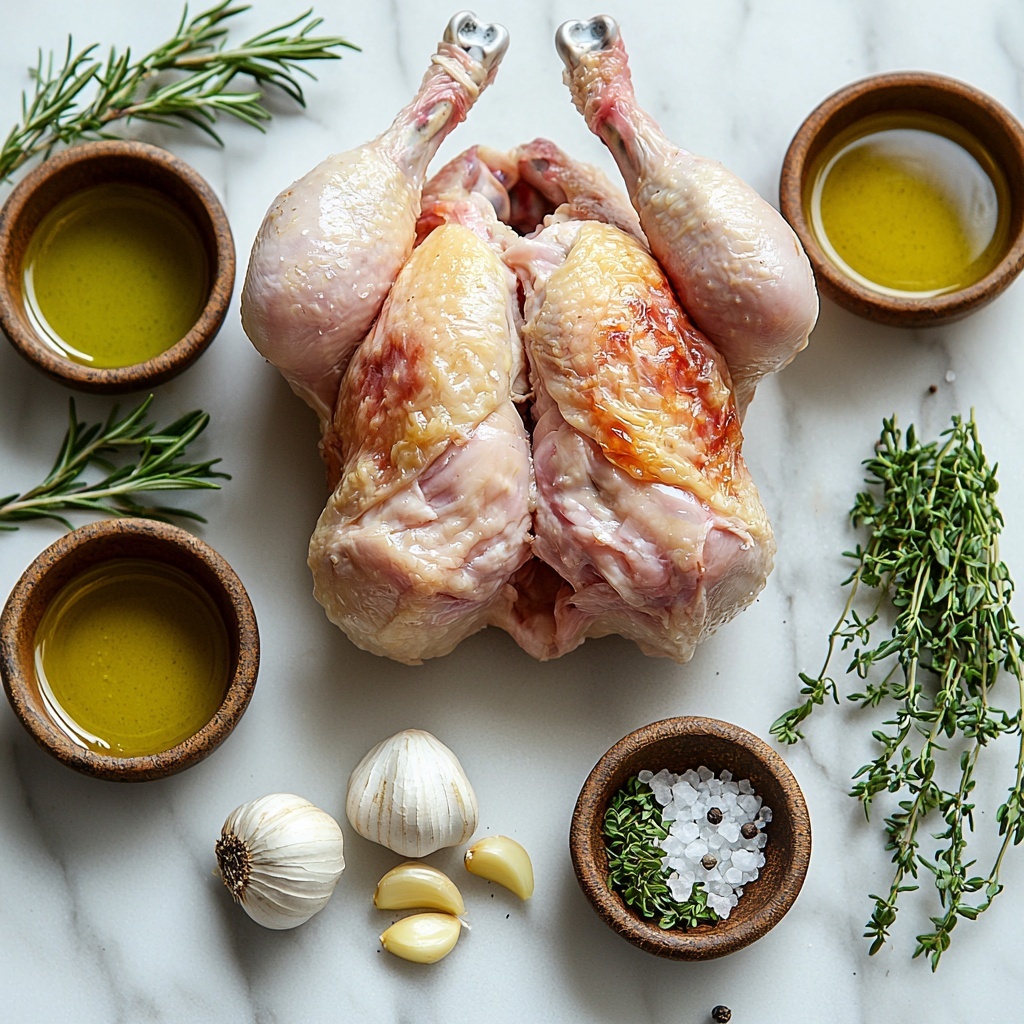
The beauty of this recipe lies in its simplicity; every ingredient plays a crucial role in creating that mouthwatering combination of texture and taste. Using fresh herbs and garlic imparts a fragrant depth, while olive oil and seasonings elevate the chicken to a crispy, golden masterpiece.
- Whole chicken (3 to 4 pounds): Your main star, perfect for spatchcocking to ensure even roasting and crisp skin.
- Olive oil (2 tablespoons): Helps create that golden, crispy skin and assists flavors in melding beautifully.
- Salt (1 tablespoon): Essential for seasoning and drawing out moisture for a crisp texture.
- Ground black pepper (1/2 tablespoon): Brings subtle heat and depth to the chicken’s flavor profile.
- Garlic cloves (3, peeled): Roasting whole cloves infuses the chicken with sweet, aromatic notes.
- Rosemary sprig (1): Adds a piney, earthy fragrance that pairs perfectly with chicken.
- Thyme sprigs (2-3): Offers a delicate herbal undertone that enhances overall taste.
- Minced garlic (1 tablespoon): Mixed with olive oil for brushing, gives an extra punch of savory flavor.
- Chopped thyme leaves (1 tablespoon): Incorporated into the garlic oil brush for fresh, herbal brightness.
How to Make Crispy Oven-Roasted Spatchcock Chicken with Herbs and Garlic Recipe
Step 1: Prepare and Spatchcock the Chicken
Start by patting the whole chicken thoroughly dry with paper towels—this is critical for getting that coveted crispy skin. Place the chicken breast-side down on a cutting board and carefully cut along each side of the backbone with sharp kitchen scissors to remove it. Next, snip the white cartilage along the breastbone and gently pull it out so the chicken can lay completely flat. Flip the chicken breast-side up and press firmly on the breastbone until you hear a crack. This flattening technique ensures even cooking and more surface area for crispiness. Tuck the wings underneath to avoid burning.
Step 2: Season the Chicken
In a small bowl, combine olive oil, salt, and black pepper. Generously rub this seasoning mixture all over the chicken, including inside the cavity, making sure every inch is coated. Let the chicken rest at room temperature for at least 15 minutes so it soaks up those wonderful flavors and the skin dries slightly, augmenting the crunch factor during roasting.
Step 3: Sear the Chicken
Preheat your oven to 450°F (230°C) and heat a large cast-iron skillet over medium-high heat for around 5 minutes. Place the chicken breast-side down in the hot skillet to sear for 3 to 5 minutes until the skin begins to brown and crisp. This initial sear locks in the juices and jumpstarts that coveted golden finish.
Step 4: Roast Breast-Side Down
Once seared, move the skillet into the preheated oven and roast the chicken breast-side down for 30 minutes. This allows the breast skin, which is usually timid to crisp, to develop an irresistible golden-brown crust. For an even deeper sear, you can place an oven-safe weight on top of the chicken during roasting.
Step 5: Flip, Add Aromatics, and Brush Garlic Oil
Carefully remove the skillet from the oven and flip the chicken breast-side up. Tuck whole garlic cloves, rosemary, and thyme sprigs underneath for a slow infusion of herbal flavors. Meanwhile, whisk together the remaining olive oil, minced garlic, and chopped thyme, then brush this fragrant garlic oil generously all over the chicken to brighten and enrich the flavor.
Step 6: Finish Roasting and Rest
Return the skillet to the oven and roast for an additional 10 minutes or until a meat thermometer reads 165°F (74°C) at the thickest part of the breast. This final step guarantees perfectly cooked, juicy meat under a crackling, herbaceous crust. Once done, transfer the chicken to a plate or cutting board and let it rest for 15 minutes. Resting allows the juices to redistribute, resulting in tender, succulent bites.
How to Serve Crispy Oven-Roasted Spatchcock Chicken with Herbs and Garlic Recipe
Garnishes
Simple garnishes can elevate your presentation and add a delightful touch of freshness. Sprinkle finely chopped fresh thyme or rosemary leaves over the carved chicken. A squeeze of fresh lemon juice or served alongside lemon wedges can brighten the dish with a zesty contrast. For a pop of color, scatter some chopped parsley or microgreens on top.
Side Dishes
This Crispy Oven-Roasted Spatchcock Chicken with Herbs and Garlic Recipe pairs beautifully with a variety of sides. Think buttery mashed potatoes to soak up every bit of the juices, roasted seasonal vegetables for added crunch and sweetness, or a crisp green salad with a light vinaigrette. You could also serve it alongside a warm grain like quinoa or couscous to complement the herbs in the chicken.
Creative Ways to Present
For a rustic family-style meal, carve the chicken directly at the table and serve on a wooden board with herbs sprinkled about. Alternatively, arrange sliced chicken over a bed of garlic sautéed greens and drizzle any pan juices for an elegant yet approachable dish. If you’re feeling festive, serve the chicken atop a circle of roasted root vegetables, inviting everyone to grab their favorites along with each juicy piece.
Make Ahead and Storage
Storing Leftovers
After enjoying your Crispy Oven-Roasted Spatchcock Chicken with Herbs and Garlic Recipe, store any leftovers within two hours in an airtight container in the refrigerator. The chicken will keep well for up to 3 to 4 days while maintaining flavor and moisture. Be sure to keep skin pieces separate if you want to keep them crispy.
Freezing
You can freeze leftover chicken by tightly wrapping it in foil or plastic wrap and placing it inside a freezer bag or airtight container. Frozen cooked chicken will last for up to 3 months. When freezing, it’s best to remove skin if you want to avoid sogginess upon thawing.
Reheating
To bring back that signature crispiness, reheat chicken in a preheated oven at 350°F (175°C) for about 15-20 minutes. For extra crunch, briefly broil the chicken’s skin at the end of reheating, watching carefully to avoid burning. Avoid microwaving as it tends to make crispy skin soggy.
FAQs
What does spatchcock mean?
Spatchcocking means removing the backbone of a whole chicken and flattening it out. This technique allows the chicken to cook faster and more evenly, resulting in juicier meat and crispier skin.
Can I use other herbs besides rosemary and thyme?
Absolutely! You can experiment with herbs like sage, oregano, or tarragon for different flavor profiles. Just be sure to use fresh herbs to get the best aromatic impact.
Do I need a cast-iron skillet to roast the chicken?
No, while a cast-iron skillet works wonderfully for heat retention and searing, you can use any oven-safe pan or roasting dish. Just ensure it’s sturdy enough to transfer from stovetop to oven if you’re searing first.
How do I know when the chicken is cooked properly?
The safest and most accurate way is to use a meat thermometer. The internal temperature should read 165°F (74°C) in the thickest part of the breast. This guarantees doneness without drying out the meat.
Can I prepare the chicken the day before?
Yes, you can spatchcock and season the chicken a day ahead. Keep it covered in the refrigerator overnight. This allows the flavors to deepen and saves time on the day you plan to roast.
Final Thoughts
This Crispy Oven-Roasted Spatchcock Chicken with Herbs and Garlic Recipe has quickly become one of my favorite go-to dishes whenever I want something impressive yet straightforward. The crispy skin paired with the herbal garlic aroma is downright irresistible, and the spatchcock method makes the whole process more efficient. I can’t wait for you to try it and make it your own solution for a cozy, delicious meal that’s bound to impress friends and family alike.
Print
Crispy Oven-Roasted Spatchcock Chicken with Herbs and Garlic Recipe
- Prep Time: 20 minutes
- Cook Time: 1 hour 15 minutes
- Total Time: 1 hour 35 minutes
- Yield: 4 servings
- Category: Main Course
- Method: Roasting
- Cuisine: American
Description
This spatchcock chicken recipe features a whole chicken expertly butterflied for even roasting and extra crispy skin. By removing the backbone and flattening the bird, it cooks faster and more evenly. The chicken is seasoned simply with olive oil, salt, pepper, garlic, rosemary, and thyme, then roasted in a hot cast-iron skillet. Searing the skin before roasting and brushing with a garlic-thyme oil ensures a golden, flavorful crust with juicy, tender meat inside. Perfect for a classic, aromatic roast chicken dinner.
Ingredients
Chicken
- 1 whole chicken (3 to 4 pounds)
Seasoning
- 1 tablespoon olive oil (initial seasoning)
- 1 tablespoon salt
- 1/2 tablespoon ground black pepper
Herbs and Aromatics
- 3 cloves garlic, peeled (whole cloves for roasting)
- 1 sprig rosemary
- 2–3 sprigs thyme
Garlic Herb Oil
- 1 tablespoon olive oil
- 1 tablespoon garlic, minced
- 1 tablespoon thyme leaves, chopped
Instructions
- Spatchcock the chicken: Pat the chicken completely dry with paper towels to ensure crispy skin. Place the chicken breast-side down on a cutting board and, using sharp kitchen scissors, cut along both sides of the backbone to remove it. Make a cut along the white cartilage at the breastbone and gently pull it out to flatten the bird.
- Flatten the chicken: Flip the chicken breast-side up and press firmly on the breastbone with your palms until you hear a crack and the chicken lies flat. Tuck the wings underneath the breasts for even cooking. Blot the chicken again with paper towels to remove lingering moisture.
- Season the chicken: In a small bowl, mix 1 tablespoon olive oil, salt, and pepper. Generously rub this seasoning all over the chicken, including inside the cavity. Let the chicken rest at room temperature for at least 15 minutes to absorb flavors.
- Preheat and sear: Preheat your oven to 450°F (230°C). Meanwhile, heat a large cast-iron skillet over medium-high heat for 5 minutes. Place the chicken breast-side down in the skillet and sear for 3-5 minutes until the skin is lightly browned and crisp.
- Roast the chicken: Transfer the skillet to the oven and roast for 30 minutes until the breast skin turns golden brown. For even browning, optionally place an oven-safe weight on top of the chicken.
- Add aromatics and baste: Remove the skillet and carefully flip the chicken breast-side up. Tuck whole garlic cloves, rosemary, and thyme sprigs underneath the chicken. In a small bowl, combine remaining olive oil, minced garlic, and chopped thyme. Brush this garlic herb oil generously over the chicken.
- Finish roasting: Return the skillet to the oven and roast for another 10 minutes until the internal temperature reaches 165°F (74°C) in the thickest part of the breast as measured with a meat thermometer.
- Rest and serve: Remove the skillet from the oven and transfer the chicken to a plate or cutting board. Let it rest for 15 minutes to allow juices to redistribute. Then carve and serve hot.
Notes
- Patting the chicken dry thoroughly is essential for crispy skin.
- Using a cast-iron skillet helps achieve a nice sear and even roasting.
- Tucking the wings under prevents them from burning during roasting.
- Resting the chicken before carving locks in moisture for juicy meat.
- Check the internal temperature with a meat thermometer for perfectly cooked chicken.
- Optional: Place a heavy oven-safe weight for extra browning on the chicken during initial roasting.


