
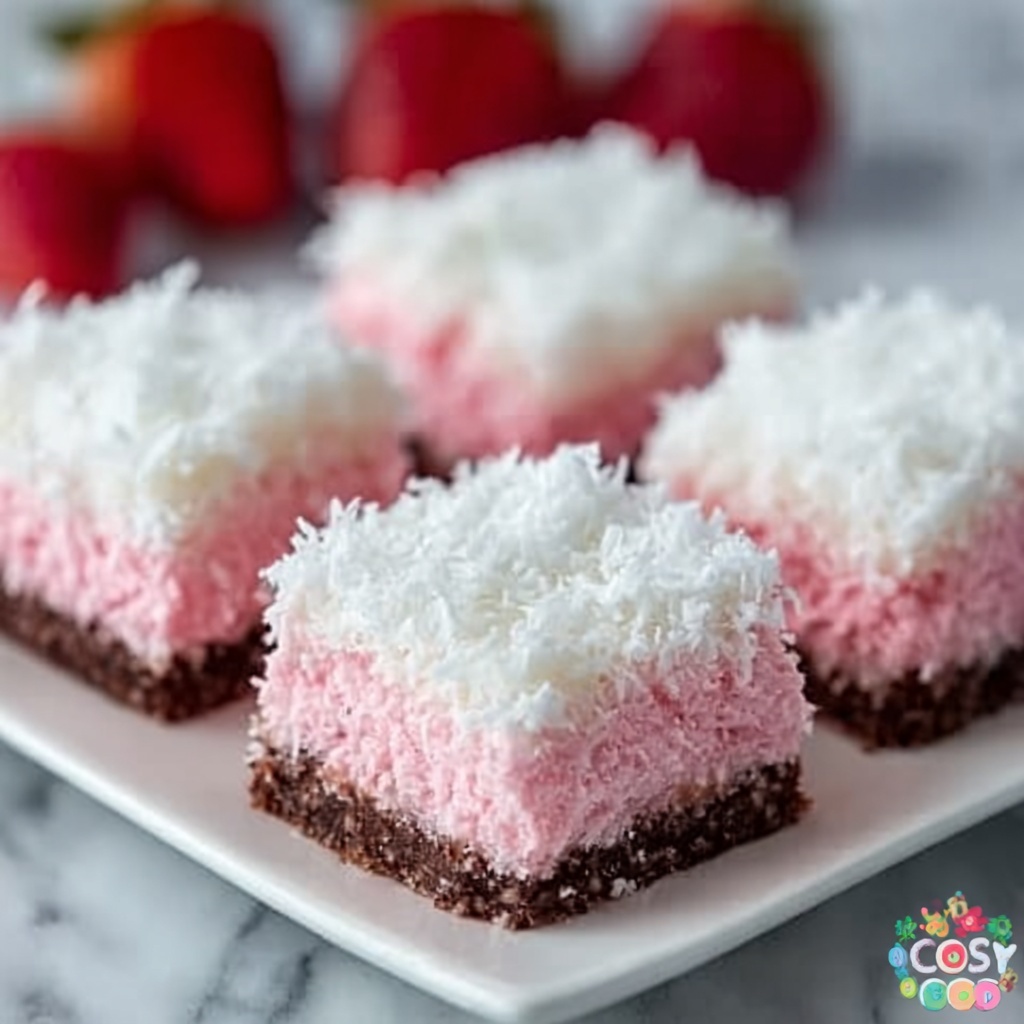
If you’re looking to brighten up your dessert table with something irresistibly delightful and charming, the Pink Coconut Snowball Cake Bars Recipe is your new best friend. This treat blends a luscious coconut flavor with a fluffy, tender cake base that is tinted a playful pink, making it as fun to look at as it is to eat. Whether you’re after a festive dessert for a party or just want to treat yourself to a slice of tropical bliss, these bars bring a perfect balance of sweetness, texture, and a pop of color that instantly lifts your mood and your taste buds.
Ingredients You’ll Need
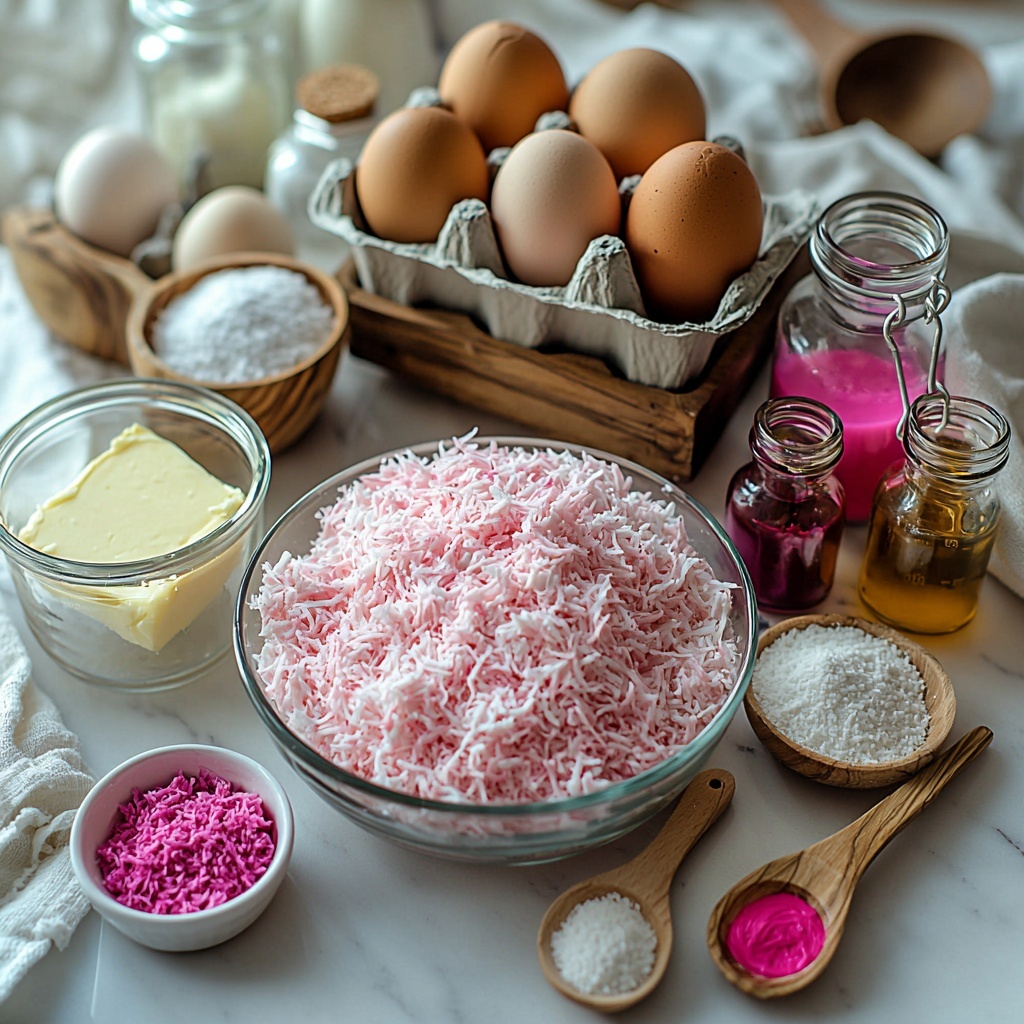
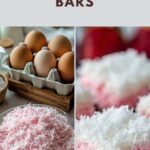
The magic of the Pink Coconut Snowball Cake Bars Recipe lies in a handful of simple, but thoughtfully chosen ingredients. Each one plays an important role, from building the cake’s fluffy structure to infusing the distinct coconut flavor and giving the bars their iconic pink hue.
- Unsalted butter: Using softened butter is key for creating that light, creamy batter texture that melts in your mouth.
- Granulated sugar: Sweetens the cake perfectly without overpowering the delicate coconut notes.
- Large eggs: Bind all ingredients together and help the cake rise beautifully.
- All-purpose flour: The foundation of the cake, providing just the right amount of structure.
- Baking powder: Guarantees a light and airy crumb by lifting the cake as it bakes.
- Salt: Enhances all the flavors, balancing the sweetness and coconut richness.
- Coconut milk: Adds moisture and deepens the coconut flavor, making every bite luxurious.
- Vanilla extract: Adds warmth and complexity to the flavor profile.
- Almond extract: Just a hint to complement and elevate the coconut’s natural sweetness.
- Pink food coloring: This is what transforms your cake bars into a charming and festive pink treat.
- Shredded coconut: Sprinkles bursts of texture and coconutty goodness throughout the bars.
How to Make Pink Coconut Snowball Cake Bars Recipe
Step 1: Prepare Your Oven and Pan
Start by preheating your oven to 350°F (175°C) and greasing your baking pan. This step ensures that your cake bars will bake evenly and release easily after baking, setting you up for success right from the get-go.
Step 2: Cream Butter and Sugar
In a large bowl, use a mixer or sturdy whisk to cream together the softened butter and granulated sugar until the mixture is light and fluffy. This process incorporates air into your batter, which is essential for a tender, airy cake.
Step 3: Incorporate the Eggs
Beat in the eggs one at a time, making sure each egg is fully mixed before adding the next. This step helps maintain a smooth, cohesive batter and enhances the cake’s structure.
Step 4: Combine Dry Ingredients
In a separate bowl, whisk together the all-purpose flour, baking powder, and salt. This ensures that the baking powder and salt are evenly distributed throughout the flour for consistent rising and flavor balance.
Step 5: Mix Dry and Wet Ingredients Alternately
Add the dry ingredient mixture to the creamed butter and sugar mixture alternately with the coconut milk and flavor extracts. This alternating method prevents overmixing and keeps your batter light while distributing all flavors evenly.
Step 6: Add Pink Food Coloring
Stir in the pink food coloring gradually until you achieve the perfect rosy tint. This is what gives the recipe its signature pink snowball look and makes the bars instantly festive.
Step 7: Fold in Shredded Coconut
Gently fold in the shredded coconut to make sure every bar will have delightful coconut bites in every forkful without deflating the batter.
Step 8: Bake to Perfection
Pour the batter into your prepared pan, spreading it out evenly. Place it in the oven and bake for 25 to 30 minutes, until a toothpick inserted in the center comes out clean, signaling a perfectly baked cake.
Step 9: Cool and Cut into Bars
Allow your pink coconut snowball cake to cool completely in the pan before cutting it into bars. This helps the bars set nicely, so they hold their shape when served.
How to Serve Pink Coconut Snowball Cake Bars Recipe
Garnishes
These cake bars look stunning on their own, but a light dusting of powdered sugar or a sprinkle of extra shredded coconut over the top can add a beautiful snowy effect. For an extra fun touch, try topping them with edible flowers or a drizzle of white chocolate.
Side Dishes
The tropical vibe of these bars pairs wonderfully with a scoop of vanilla ice cream or a dollop of whipped cream. Fresh berries or a tangy passionfruit sauce will also bring a delightful contrast to the sweetness and add vibrant color to your dessert plate.
Creative Ways to Present
For parties or gifting, stack the bars wrapped in parchment paper with ribbons or serve them on a pastel-colored platter to accentuate the pink hues. You could also cut them into bite-sized pieces for an elegant dessert tray that’s perfect for sharing.
Make Ahead and Storage
Storing Leftovers
Leftover Pink Coconut Snowball Cake Bars keep well stored in an airtight container at room temperature for up to three days, where they maintain their moistness and flavor beautifully.
Freezing
For longer storage, wrap the bars individually in plastic wrap and place them in a freezer-safe container or bag. Freeze for up to two months and thaw at room temperature when you’re ready to enjoy them again.
Reheating
If you prefer your bars slightly warm, reheat gently in a microwave for about 15-20 seconds or in a low oven (around 300°F) for 5-7 minutes. This waking-up method revives their soft, cake-like texture without drying them out.
FAQs
Can I use a different food coloring instead of pink?
Absolutely! Feel free to experiment with other colors to match different themes or occasions, although the pink is part of what makes this recipe so unique and charming.
What if I don’t have coconut milk on hand?
You can substitute regular milk or a non-dairy alternative like almond milk, but keep in mind that coconut milk adds a creamy, tropical flavor that really defines this recipe.
Is shredded coconut necessary?
Yes, shredded coconut is essential for the texture and taste, giving the bars their signature “snowball” feel with delightful coconut bursts in every bite.
Can I make these bars gluten-free?
You can try using a gluten-free all-purpose flour blend in place of regular flour. Just be sure the blend includes xanthan gum or another binder for the best results.
How long do the Pink Coconut Snowball Cake Bars last after baking?
Stored properly in an airtight container, they’ll stay fresh and delicious for up to three days at room temperature, perfect for enjoying throughout the week.
Final Thoughts
There’s nothing quite like the joy of biting into these fluffy, coconut-infused Pink Coconut Snowball Cake Bars Recipe. Their tender texture, vibrant color, and sweet tropical flavor make them a standout dessert that’s sure to brighten any occasion. I can’t wait for you to try making them at home and experience that perfect pink snowball magic firsthand!
Print
Pink Coconut Snowball Cake Bars Recipe
- Prep Time: 15 minutes
- Cook Time: 30 minutes
- Total Time: 45 minutes
- Yield: 24 servings
- Category: Dessert
- Method: Baking
- Cuisine: American
- Diet: Vegetarian
Description
Enjoy a delightful twist on traditional coconut bars with these Pink Coconut Snowball Cake Bars. Featuring a soft, buttery cake infused with coconut milk, vanilla, and almond extracts, and bursting with shredded coconut, these bars are beautifully tinted pink for a festive and eye-catching treat. Perfect for parties, holidays, or any occasion that calls for a sweet, tropical-inspired dessert.
Ingredients
Cake Batter
- 1 cup unsalted butter, softened
- 2 cups granulated sugar
- 4 large eggs
- 2 1/2 cups all-purpose flour
- 1 tablespoon baking powder
- 1/2 teaspoon salt
- 1 cup coconut milk
- 1 teaspoon vanilla extract
- 1/2 teaspoon almond extract
- 1/4 cup pink food coloring
- 3 cups shredded coconut
Instructions
- Preheat and Prepare Pan: Preheat your oven to 350°F (175°C) and grease a baking pan to prevent the cake bars from sticking.
- Cream Butter and Sugar: In a large bowl, cream together the softened unsalted butter and granulated sugar using a mixer until the mixture becomes light and fluffy, which helps create a tender texture.
- Add Eggs: Beat in the eggs one at a time, ensuring each egg is fully incorporated before adding the next, to maintain a smooth batter.
- Combine Dry Ingredients: In a separate bowl, whisk together the all-purpose flour, baking powder, and salt to distribute the leavening agent evenly.
- Alternate Adding Dry Mix and Coconut Milk: Gradually add the flour mixture to the creamed butter and sugar, alternating with coconut milk and the vanilla and almond extracts. This helps maintain the batter’s moisture and evenly disperses the flavors.
- Add Pink Food Coloring: Mix in the pink food coloring thoroughly until the batter reaches your desired shade of pink.
- Fold in Coconut: Gently fold in the shredded coconut to ensure even distribution without overmixing the batter.
- Transfer to Pan: Pour the completed batter into the prepared baking pan and spread it evenly with a spatula for uniform baking.
- Bake: Place the pan in the oven and bake for 25 to 30 minutes, or until a toothpick inserted in the center comes out clean, indicating the bars are fully cooked.
- Cool and Serve: Allow the bars to cool completely in the pan before cutting into 24 squares for serving.
Notes
- Use fresh shredded coconut for the best texture and flavor.
- Ensure butter is softened to room temperature for easy creaming.
- If you don’t have pink food coloring, you can use natural alternatives like beet juice or omit it for classic coconut bars.
- Store leftovers in an airtight container at room temperature for up to 3 days or in the refrigerator for up to a week.
- For a dairy-free version, substitute butter with a plant-based margarine and ensure coconut milk is unsweetened and canned for richness.
