
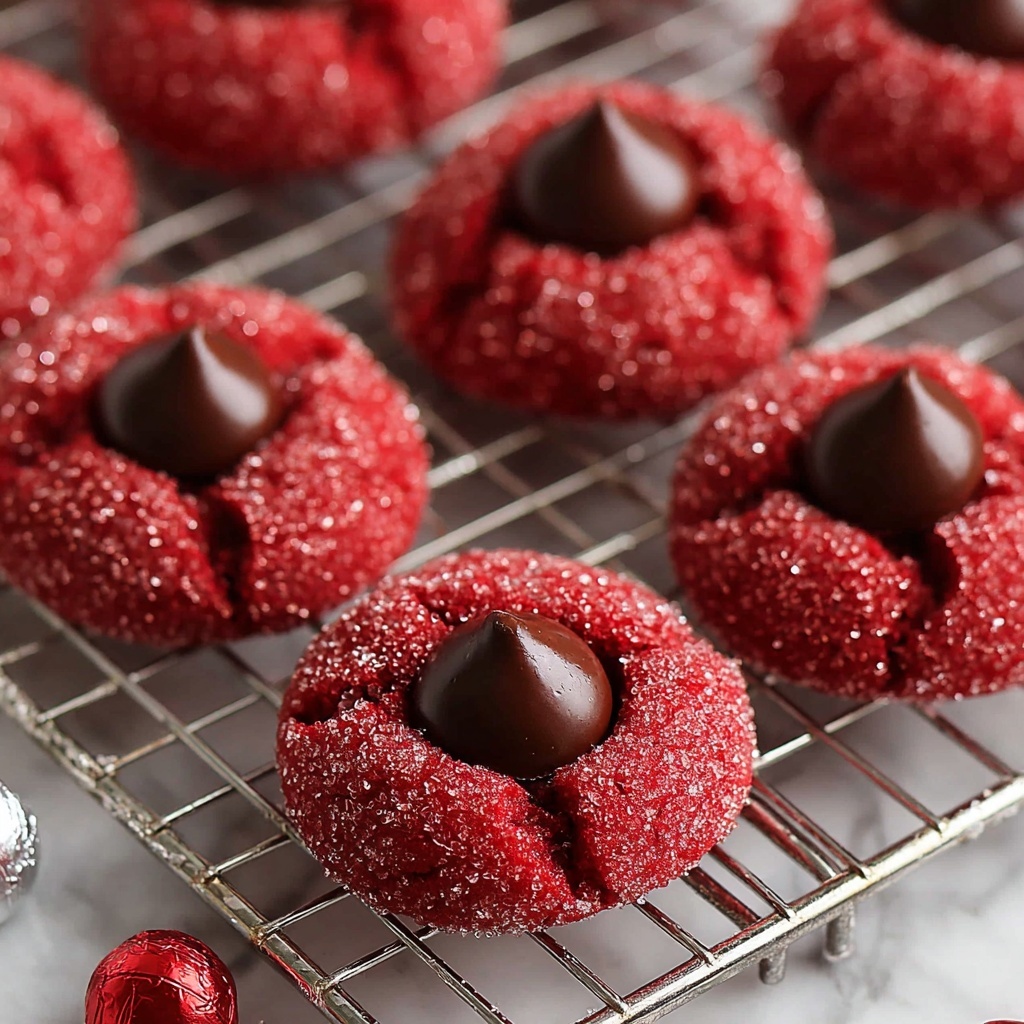
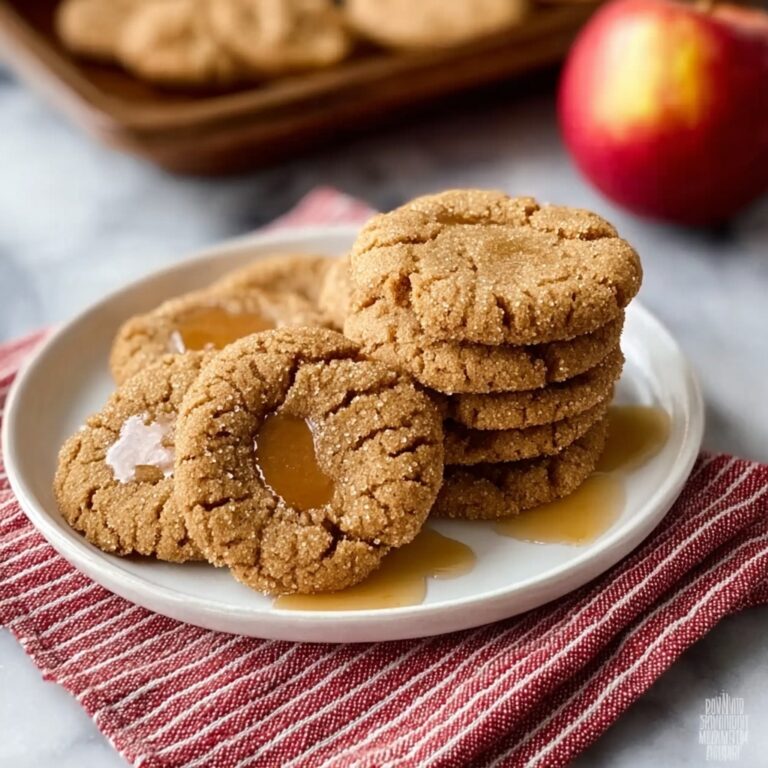
If you’re searching for a delightful treat that’s as charming to look at as it is delicious to bite into, then this Red Velvet Blossom Cookies Recipe is exactly what you need! Combining the rich, velvety flavor of red velvet cake with the irresistible sweetness of a chocolate kiss nestled right in the center, these cookies bake up soft, slightly chewy, and utterly addictive. They’re a perfect balance of texture and flavor, bringing that classic red velvet charm right to your cookie jar. Whether you’re baking for a special occasion or just craving something uniquely scrumptious, these blossom cookies will quickly become a treasured favorite.
Ingredients You’ll Need
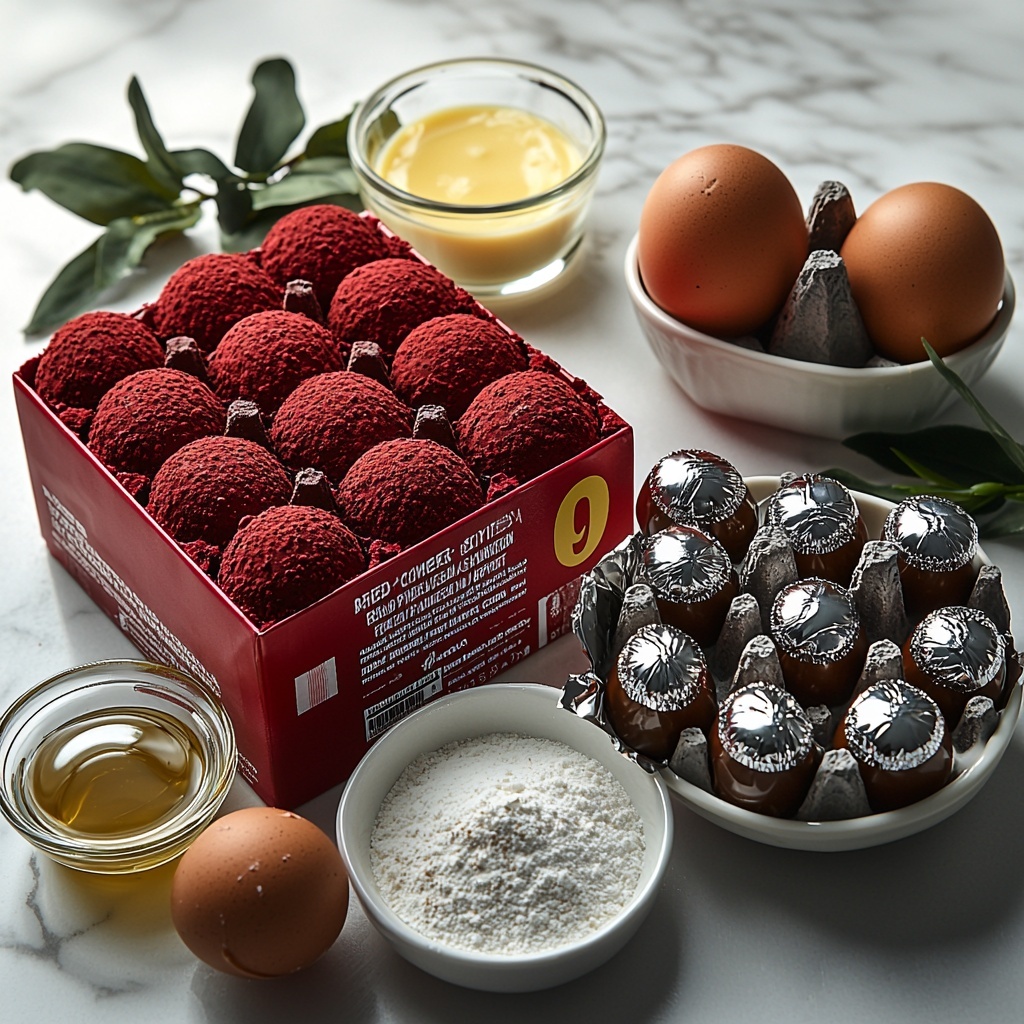
This Red Velvet Blossom Cookies Recipe calls for a handful of simple ingredients that come together to create a stunning flavor and texture harmony. Each plays a vital role, from the moist crumb of the cake mix to the rich depth from the espresso powder, and that iconic chocolate candy kiss that makes these cookies blossom into pure joy.
- Red velvet cake mix (15.25 oz.): The foundation of these cookies, providing rich cocoa flavor and that signature red hue.
- Large eggs (2): Bind the ingredients together and add moisture.
- Unsalted butter (½ cup, melted): Adds richness and tenderness to the cookie dough.
- Vanilla extract (1 tsp): Enhances the overall flavor with a lovely aromatic touch.
- Espresso powder (½ tsp, optional): A subtle boost that deepens the chocolate notes without overpowering.
- Regular or coarse sugar (1 cup): Adds sweetness and a delightful sugary crust when rolling the dough balls.
- Hershey’s kiss candies (24): The crowning jewel of the cookie, melting just right to give that classic blossom look and chocolate goodness.
How to Make Red Velvet Blossom Cookies Recipe
Step 1: Mix the Wet Ingredients
Start by whisking together the eggs, melted butter, and vanilla extract until you get a smooth mixture. This combination ensures your cookies stay moist and tender, setting the stage for the magic the cake mix will bring next.
Step 2: Combine with Dry Ingredients
Next, add the red velvet cake mix along with the optional espresso powder if you want that extra chocolate depth. Stir everything just until fully incorporated — be careful not to over-mix, as you want the cookies to stay light and fluffy.
Step 3: Chill the Dough
Pop the dough into the fridge for about 30 minutes. Chilling helps the dough firm up, making it easier to roll into perfect balls and preventing spreading during baking.
Step 4: Shape and Coat
Once chilled, roll the dough into 1½ inch balls — a size that ensures soft, luscious centers and enough surface for that charming sugar crust. Roll each ball thoroughly in sugar; this step adds a subtle crunch on the outside that contrasts beautifully with the soft inside.
Step 5: Bake to Perfection
Place the coated dough balls on a baking sheet and bake in a 350°F oven for 8–10 minutes. You want the edges to set while the centers stay puffed and just beginning to show tiny cracks — this means they’ll be perfectly soft and chewy once cooled.
Step 6: Add the Candy Kiss
Immediately after removing from the oven, gently press one Hershey’s kiss into the center of each cookie. This final touch creates the signature blossom look and melts slightly into the warm cookie for a gooey surprise. For Hugs kisses, a quick chill in the fridge or freezer helps them hold their shape better.
How to Serve Red Velvet Blossom Cookies Recipe
Garnishes
To add a personal twist, consider sprinkling a pinch of edible glitter or colored sugar crystals over the cookies just before baking, enhancing their festive appearance. A light dusting of powdered sugar also beautifully highlights their red velvet color once cooled.
Side Dishes
These cookies pair wonderfully with a glass of cold milk, creamy hot chocolate, or a cup of richly brewed coffee. The warmth of your beverage complements the luscious chocolate center and velvety cookie base, making each bite a comforting treat.
Creative Ways to Present
Red Velvet Blossom Cookies make fantastic gifts! Arrange them in a pretty box lined with parchment or stack them in a clear jar tied with a festive ribbon. For parties, place them on decorative platters surrounded by fresh flowers to mimic a blooming garden – delight your guests both visually and taste-wise!
Make Ahead and Storage
Storing Leftovers
Store your Red Velvet Blossom Cookies in an airtight container at room temperature for up to 4 days. This keeps them soft with just the right amount of chewiness, ensuring each cookie stays as irresistible as the day you baked them.
Freezing
You can freeze unbaked cookie dough balls by placing them on a tray, freezing until solid, then transferring to a freezer-safe container. When ready, bake from frozen by adding a couple of extra minutes to the baking time. Baked cookies also freeze well; just wrap them tightly to maintain freshness.
Reheating
To enjoy these cookies warm, pop them in the microwave for 10–15 seconds or briefly heat in a low oven. This softens the cookie and melts the chocolate center deliciously, bringing back that freshly baked magic.
FAQs
Can I use a different cake mix for this recipe?
While red velvet is the star flavor here, you can experiment with other cake mixes like chocolate or devils food. Just keep in mind the cookie’s signature look will change, but the texture and ease remain fantastic.
Is the espresso powder really necessary?
The espresso powder is optional but highly recommended. It enhances the chocolate notes without tasting like coffee, giving your cookies a deeper, richer flavor dimension that’s subtle yet noticeable.
Can I use other types of chocolate candies instead of Hershey’s kisses?
Absolutely! Mini peanut butter cups, chocolate truffles, or even white chocolate chips can add a unique touch. Just choose candies that hold their shape or melt nicely without overpowering the cookie.
How do I prevent the candy kisses from melting too much?
For candies like Hugs that contain white chocolate, place the cookies in the fridge or freezer shortly after adding the candy. This helps them set quickly and keeps that adorable blossom shape intact.
Are these cookies suitable for kids to help make?
Definitely! This Red Velvet Blossom Cookies Recipe is simple and fun, perfect for baking with children. Just supervise while handling hot trays, and let them help roll dough balls and press the candy kisses for a delightful shared baking experience.
Final Thoughts
There’s nothing quite like the joy of biting into one of these charming Red Velvet Blossom Cookies Recipe creations. From the beautiful red color and sugary crust to the melted chocolate center, every bite tells a story of warmth and celebration. I encourage you to gather your ingredients, invite a friend or family member to join you, and bake up a batch of these irresistible cookies. Trust me, once you try them, they’ll become a beloved staple that you’ll reach for again and again!
Print
Red Velvet Blossom Cookies Recipe
- Prep Time: 15 minutes
- Cook Time: 10 minutes
- Total Time: 50 minutes
- Yield: 24 cookies
- Category: Dessert
- Method: Baking
- Cuisine: American
- Diet: Vegetarian
Description
These Red Velvet Blossom Cookies combine the rich flavor of red velvet cake with the classic charm of a chocolate kiss center. Soft and fluffy red velvet cookie dough is rolled in sugar, baked until just set, and topped with a melting chocolate candy, creating a delightful treat perfect for holidays, parties, or any festive occasion.
Ingredients
Cookie Dough
- 1 box red velvet cake mix (15.25 oz.)
- 2 large eggs
- ½ cup unsalted butter (melted)
- 1 tsp vanilla extract
- ½ tsp espresso powder (optional)
Topping
- 1 cup regular or coarse sugar (for rolling)
- 24 Hershey’s kisses candies (or other mini chocolate candy)
Instructions
- Mix Wet Ingredients: Whisk together the eggs, melted unsalted butter, and vanilla extract in a bowl until fully combined, ensuring a smooth base for the cookie dough.
- Add Dry Ingredients: Incorporate the red velvet cake mix and optional espresso powder into the wet mixture, stirring thoroughly until the dough is uniform without any streaks.
- Chill Dough: Cover the dough and chill it in the refrigerator for about 30 minutes. This helps the dough firm up, making it easier to roll into balls and maintaining cookie shape during baking.
- Form and Coat Cookies: Once chilled, roll the dough into 1½-inch balls. Then roll each ball in the sugar until completely coated, which adds a sweet, slightly crunchy exterior texture once baked.
- Bake Cookies: Place the sugar-coated dough balls on a baking sheet lined with parchment paper or a silicone mat. Bake in a preheated oven at 350°F (175°C) for 8–10 minutes until the edges begin to set, the cookies puff up, and cracks just start to appear on the surface.
- Add Chocolate Kiss: Remove the cookies from the oven and gently press a Hershey’s kiss candy into the center of each cookie immediately while they are still warm, allowing the candy to slightly melt into the cookie as they cool.
- Cool and Set: Allow the cookies to cool completely on a wire rack before serving. For alternative kisses like Hugs, consider chilling the cookies in the refrigerator or freezer after adding the candy to prevent excessive melting and help the chocolate maintain its shape.
Notes
- Chilling the dough is essential for easier handling and preventing cookies from spreading too much during baking.
- Espresso powder is optional but enhances the red velvet flavor by adding a subtle depth.
- If you use candy kisses other than Hershey’s regular chocolate, be mindful that some varieties melt more, so refrigeration after baking might be needed.
- Use parchment paper or a silicone baking mat to prevent cookies from sticking and promote even baking.
- For a festive variation, consider rolling the dough balls in colored sugar sprinkles instead of regular sugar before baking.


