
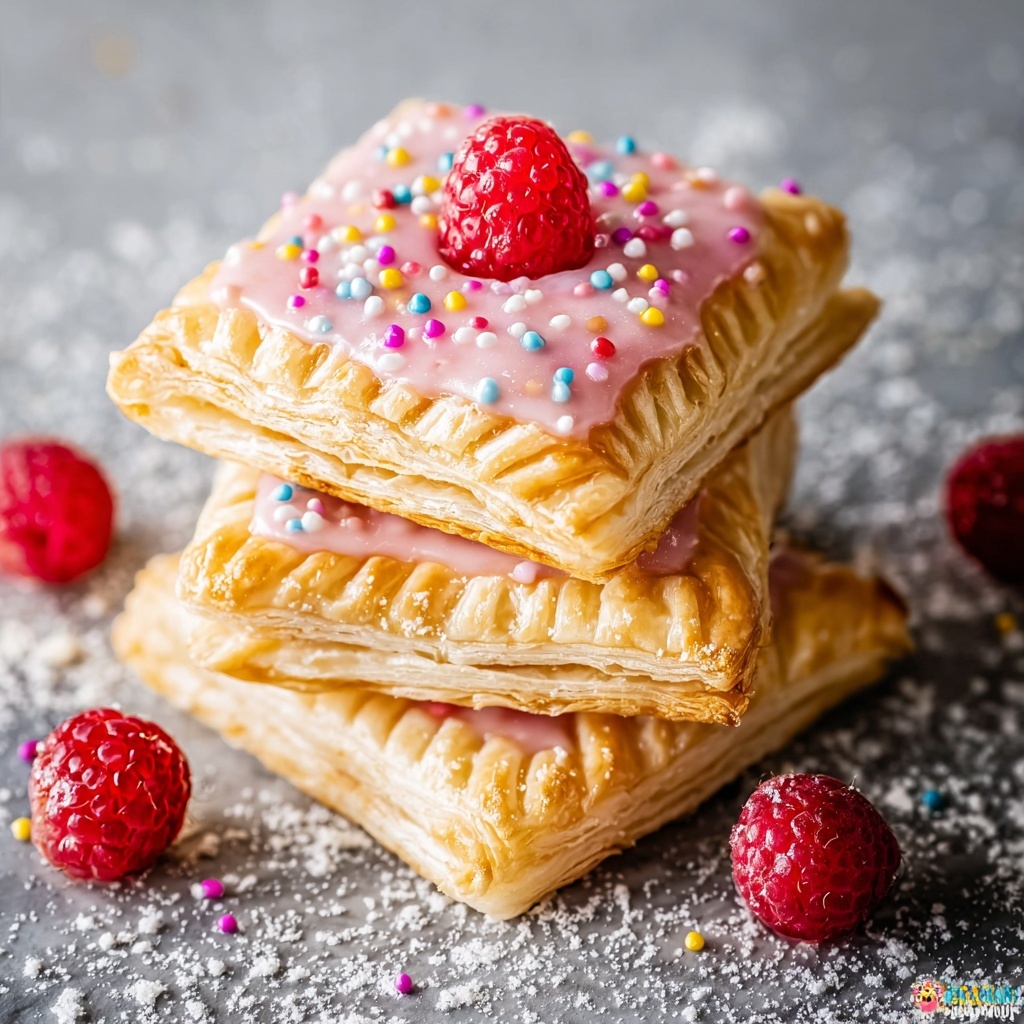
If you’ve ever wished you could recreate a nostalgic breakfast treat with your own twist, then this Delicious Homemade Pop Tarts with Fun Custom Fillings Recipe is exactly what you need. These flaky, buttery pastries filled with your favorite jam or chocolate delight blend the comfort of childhood favorites with the joy of homemade goodness. Every bite is a warm hug wrapped in sugar, icing, and endless creativity. Whether it’s a weekend project or just a special treat, these pop tarts will turn your kitchen into the coziest spot and your mornings into a celebration.
Ingredients You’ll Need
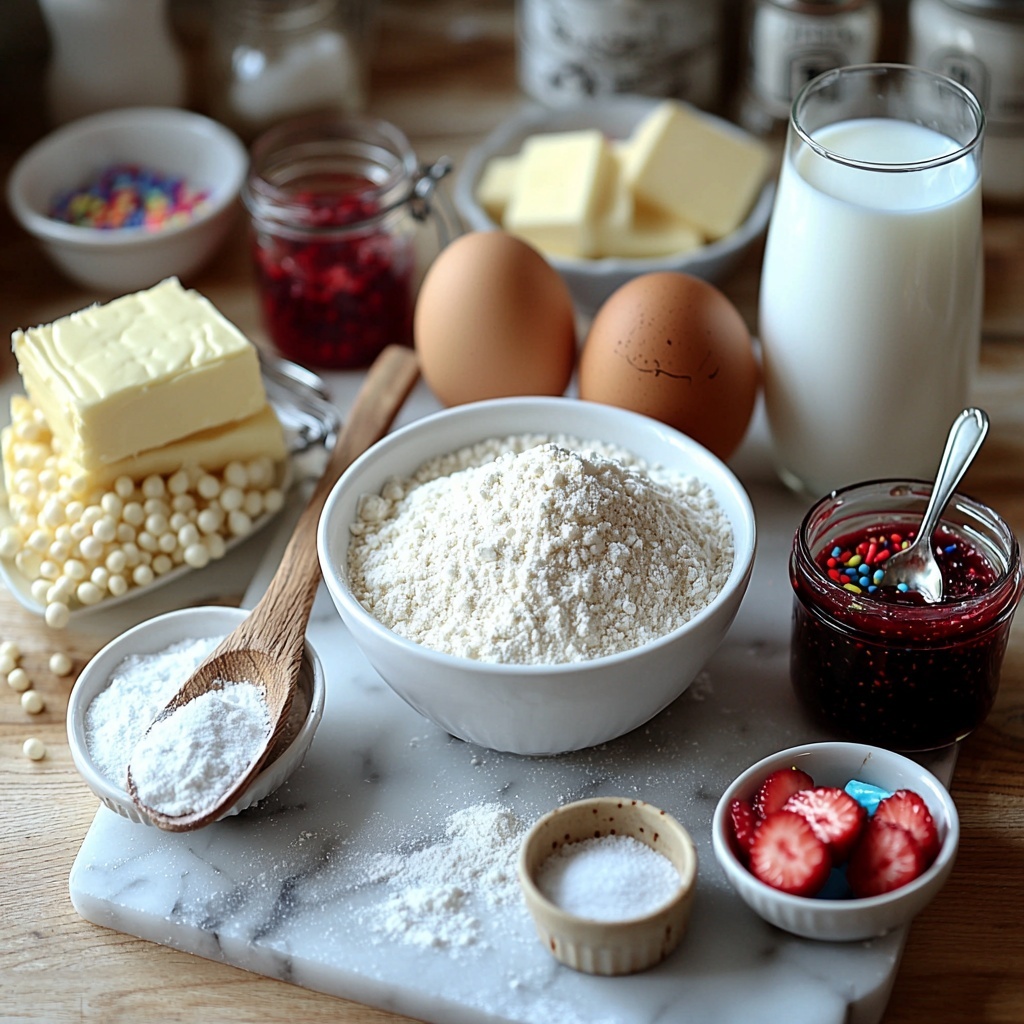
This recipe calls for simple, everyday ingredients that come together beautifully, each playing a vital role in crafting the perfect texture and flavor. From the tender dough to the luscious fillings and the sweet glaze, every item on this list helps you create something truly special.
- 2 cups All-Purpose Flour: The foundation of your dough, perfect for that tender yet flaky crust; gluten-free flour can swap in for dietary needs.
- 1 tablespoon Granulated Sugar: Adds just the right touch of sweetness; brown sugar works great if you want a deeper flavor.
- 1 teaspoon Table Salt: Boosts and balances the flavors perfectly without being overpowering.
- 2 large Eggs: One for binding your dough and one for brushing to give that beautiful golden sheen.
- 1 cup Unsalted Butter: Cold and chunky for pockets of flaky brilliance inside the dough.
- 3 tablespoons Ice Cold Water: Helps bring the dough together without warming it up too fast.
- ½ cup Jam of Choice: Whether strawberry, raspberry, or Nutella, this is where your personal flair shines bright.
- 1 cup Powdered Sugar: Creates a smooth and sweet icing that complements the pop tarts beautifully.
- 2 teaspoons Whole Milk: Adds just enough moisture to the icing; almond milk is a great dairy-free alternative.
- Food Coloring (Optional): For a playful pop of color on your icing to match your mood or occasion.
- Sprinkles (Optional): Because a little sparkle on top always makes homemade even more magical.
How to Make Delicious Homemade Pop Tarts with Fun Custom Fillings Recipe
Step 1: Preparing the Dough
Combine flour, granulated sugar, and salt in a food processor and pulse briefly. Add one egg to the mix and pulse until incorporated, then add cold butter chunks and ice water, pulsing gently until the dough just comes together. Be careful not to overmix to keep that flaky texture. This simple but crucial step sets the base for your homemade pop tarts.
Step 2: Chilling the Dough
Turn out your dough onto a floured surface and knead just enough to smooth it out. Then wrap it tightly in plastic wrap and pop it in the refrigerator for 30 minutes. Chilling is key—it firms up the butter and relaxes the gluten, making the dough easier to roll and shaping those perfect layers.
Step 3: Rolling and Cutting
After chilling, roll out the dough into two large rectangles about ¼ inch thick. Cut each rectangle into eight smaller rectangles around 3 by 4 inches. This step is exciting because you start envisioning your finished pop tarts taking shape right in front of you.
Step 4: Filling and Assembling
Place one rectangle on a parchment-lined baking tray, spoon a generous tablespoon of your favorite jam or Nutella onto it, leaving some space around the edges. Top with another rectangle and seal edges firmly with a fork. Don’t forget to poke a few tiny holes on top so steam escapes while they bake—this little trick keeps them from puffing up too much.
Step 5: Chilling Again Before Baking
Put your sealed pop tarts back into the fridge for another 30 minutes. This final chill helps keep everything snug and in place when the oven’s heat does its magic.
Step 6: Baking to Golden Perfection
Preheat your oven to 350°F and brush the tops with the beaten second egg for a gorgeous golden finish. Bake for about 20 minutes until you see that irresistible golden brown color forming. The aroma alone at this point can make anyone’s day brighter!
Step 7: Making the Icing and Decorating
Whisk together powdered sugar and milk until smooth and creamy. Feel free to add a few drops of food coloring to match any celebration or just brighten your plate. Once your pop tarts are cooled, spread the icing generously and sprinkle with your chosen fun decorations like sparkly sprinkles or edible glitter.
How to Serve Delicious Homemade Pop Tarts with Fun Custom Fillings Recipe
Garnishes
Serving these pop tarts is half the joy. A simple dusting of powdered sugar or a drizzle of extra glaze adds that picture-perfect finish. You can also top with fresh berries if you used a berry jam, making every bite fresh and vibrant.
Side Dishes
Complement your homemade pop tarts with a side of creamy yogurt, a steaming cup of coffee, or a freshly squeezed glass of orange juice. These pairings balance sweetness with freshness and add an extra level of comfort to the experience.
Creative Ways to Present
Try stacking the pop tarts on a cake stand with colorful napkins or cut them diagonally for a fun finger-food party platter. You could even make mini versions to serve as delightful breakfast bites for kids or guests, making your presentation just as fun as the fillings!
Make Ahead and Storage
Storing Leftovers
If you have any pop tarts left (which is rare!), store them in an airtight container at room temperature for up to 2 days. This keeps the crust flaky and the filling fresh without sacrificing texture.
Freezing
Pop tarts freeze beautifully! Place them in a single layer on a baking sheet to freeze initially, then transfer to a freezer-safe bag for up to 2 months. This is perfect for preparing ahead for busy mornings or unexpected guests.
Reheating
Warm your leftover or frozen pop tarts in a toaster oven or regular oven at 300°F for about 5–8 minutes until heated through. A quick warm-up revives their flaky crust and melty filling, making them taste freshly baked all over again.
FAQs
Can I use store-bought pie crust instead of making my own dough?
Absolutely! Store-bought pie crust can be a convenient shortcut. Just make sure to roll it out a bit thinner to mimic the homemade texture and watch closely while baking so it doesn’t brown too fast.
What are some fun filling ideas beyond jam and Nutella?
Try peanut butter and chocolate chips, cinnamon sugar with butter, or even a cream cheese and berry combo. The possibilities for fun custom fillings are endless and totally delicious!
Can I make these gluten-free?
Yes! Simply swap the all-purpose flour with a gluten-free flour blend suitable for baking. The texture may be slightly different, but your pop tarts will still be tasty and satisfying.
How long do homemade pop tarts last?
Freshly baked and stored properly at room temperature, they last around 2 days. For longer storage, freezing is your best friend to keep them fresh and ready anytime.
Is it possible to make a vegan version of this recipe?
Definitely! Use a vegan butter substitute, flax or chia eggs instead of chicken eggs, and a plant-based milk for your icing, and you’ll have a delightful vegan twist on these classic pop tarts.
Final Thoughts
This Delicious Homemade Pop Tarts with Fun Custom Fillings Recipe turns a simple pastry into a canvas for creativity and comfort. I promise, once you make these, you’ll be hooked on the warm crispy edges, the luscious fillings, and the sheer joy of eating something made with love in your own kitchen. So grab your favorite jams, some butter, and dive into this fun, tasty adventure—you’re going to love every delicious bite!
Print
Delicious Homemade Pop Tarts with Fun Custom Fillings Recipe
- Prep Time: 35 minutes
- Cook Time: 20 minutes
- Total Time: 55 minutes
- Yield: 8 servings
- Category: Breakfast Pastry
- Method: Baking
- Cuisine: American
Description
These delicious homemade Pop Tarts are a fun and customizable breakfast treat featuring a flaky buttery crust filled with your choice of jam or Nutella, topped with a sweet glaze and optional sprinkles. Perfect for a nostalgic homemade indulgence, they combine simple ingredients with straightforward steps to create a golden, flaky pastry in under two hours.
Ingredients
Dough Ingredients
- 2 cups All-Purpose Flour (Use gluten-free flour for an alternative)
- 1 tablespoon Granulated Sugar (Substitute brown sugar for a richer flavor)
- 1 teaspoon Table Salt
- 1 large Egg (for the dough)
- 1 cup Unsalted Butter (Cut into ½” chunks; keep cold)
- 3 tablespoons Ice Cold Water
Filling
- ½ cup Jam of Choice (Strawberry, raspberry, or Nutella)
Glaze and Topping
- 1 large Egg (beaten, for brushing)
- 1 cup Powdered Sugar
- 2 teaspoons Whole Milk (or almond milk for dairy-free)
- Food Coloring (Optional)
- Sprinkles (Optional)
Instructions
- Combine Dry Ingredients: In a food processor, pulse together the all-purpose flour, granulated sugar, and table salt until well mixed.
- Add Egg: Add one whole egg to the dry ingredients and pulse until incorporated to begin forming the dough base.
- Incorporate Butter and Water: Add the cold chunks of unsalted butter and the ice cold water to the mixture. Pulse gently until a dough just forms, taking care not to overmix to maintain flakiness.
- Knead and Chill Dough: Transfer the dough to a floured surface and knead gently just until smooth. Wrap it tightly in plastic wrap and refrigerate for 30 minutes to firm up.
- Roll and Cut Dough: Roll the chilled dough out into two rectangles about ¼ inch thick. Cut the dough into eight rectangles approximately 3” x 4” each.
- Fill and Seal Pop Tarts: Place one rectangle on a parchment-lined baking sheet. Spoon a tablespoon of your chosen jam or filling onto the center, then top with another rectangle. Seal the edges by pressing with a fork and prick a few holes on top to allow steam to escape during baking.
- Chill Before Baking: Return the assembled pop tarts to the refrigerator for another 30 minutes to help them hold their shape while baking.
- Preheat Oven and Prepare for Baking: Preheat the oven to 350°F (175°C). Brush the tops of each pop tart with the remaining beaten egg to create a golden finish.
- Bake: Bake the pop tarts on the parchment-lined sheet for about 20 minutes or until they are golden brown and cooked through.
- Make the Icing: In a small bowl, whisk together powdered sugar and whole milk until smooth. Add food coloring if desired for festive colors.
- Cool and Decorate: Allow the pop tarts to cool completely, then spread the icing on top and decorate with sprinkles if using. Serve and enjoy!
Notes
- For a gluten-free option, substitute all-purpose flour with gluten-free flour.
- Use almond milk instead of whole milk to make the icing dairy-free.
- Do not overmix the dough in the food processor to keep the crust flaky.
- Chilling the dough before and after assembling helps maintain the shape and texture during baking.
- Feel free to experiment with different fillings such as chocolate spread, cinnamon sugar, or fruit preserves.
- Store leftover pop tarts in an airtight container at room temperature for up to two days or freeze for longer storage.
