

“`html
If you are craving a warm, aromatic loaf that fills your kitchen with irresistible scents, then you are in for a treat with this Garlic Herb Dutch Oven Bread Recipe. This bread is a perfect harmony of crusty, golden exterior and tender, flavorful crumb inside, studded with fragrant garlic and fresh herbs. It’s comforting and rustic, yet surprisingly simple to make at home, and it will quickly become your go-to for sharing with family and friends.
Ingredients You’ll Need
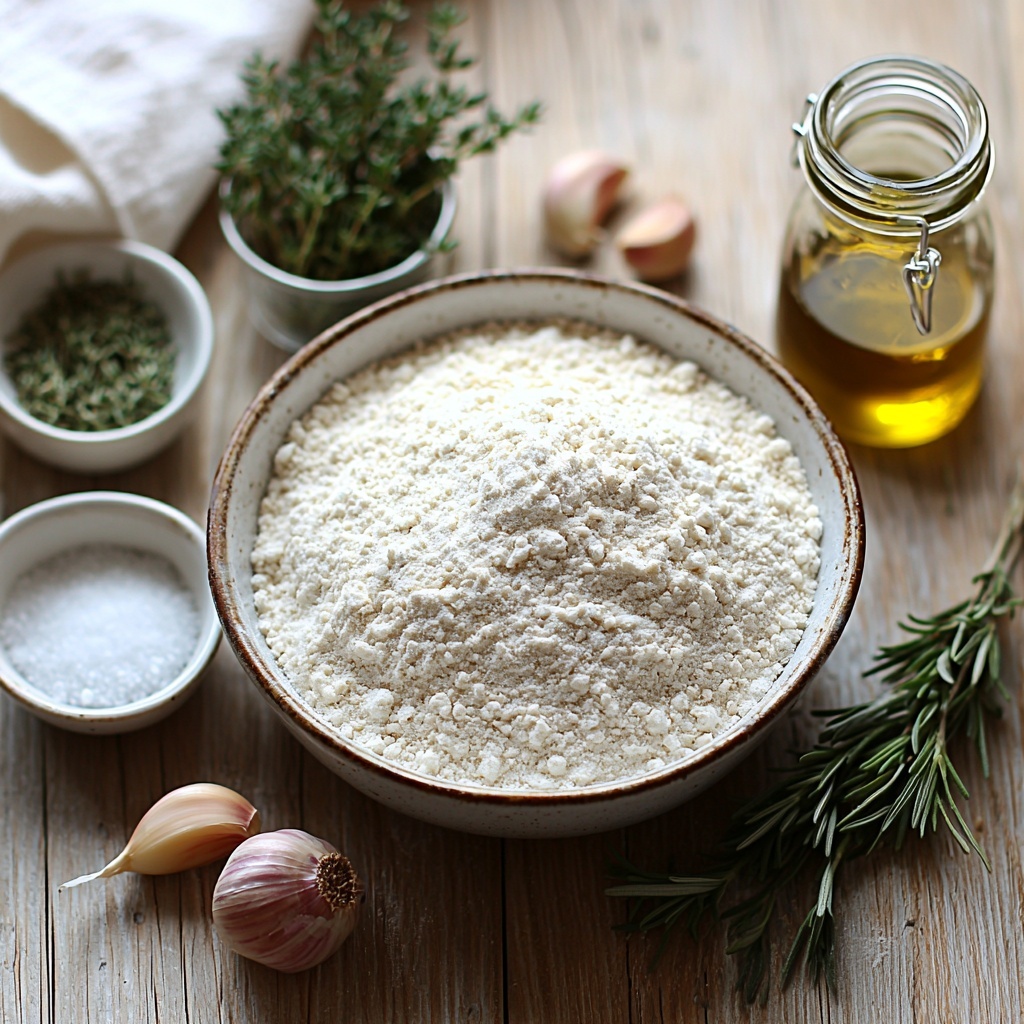
The beauty of this Garlic Herb Dutch Oven Bread Recipe lies in its simplicity and the way each basic ingredient plays a crucial role. Every component adds texture, flavor, or the perfect crust, coming together for a truly irresistible loaf.
- 3 cups all-purpose flour (plus extra for dusting): The foundation of your bread’s structure and chew.
- 2 teaspoons fine sea salt: Enhances flavor and strengthens the gluten network.
- 1/2 teaspoon instant yeast: The yeast helps the dough rise and creates those wonderful airy pockets.
- 1 1/2 cups lukewarm water (90-100°F): Activates the yeast and hydrates the flour for a soft dough.
- 4 cloves garlic (minced): Infuses the bread with that signature savory punch.
- 2 tablespoons fresh herbs (rosemary, thyme, or a mix): Adds bright and earthy notes, making each bite fragrant and fresh.
- 1 tablespoon olive oil (for coating): Creates a non-stick surface and adds a subtle richness to the crust.
How to Make Garlic Herb Dutch Oven Bread Recipe
Step 1: Mix the Dry Ingredients With Garlic and Herbs
Start by combining the flour, sea salt, and instant yeast in a large mixing bowl. Then add in the minced garlic and fresh herbs, which will infuse the dough right from the start with their bold, aromatic flavors. This step lays the flavor foundation while preparing for the dough’s rise.
Step 2: Add Lukewarm Water and Stir Until Combined
Pour the lukewarm water into your dry mixture, making sure the temperature is just right to activate your yeast. Stir everything together until there’s no dry flour left and you get a shaggy, sticky dough. Don’t worry if it looks wet—that’s exactly what you want for this kind of bread.
Step 3: Let the Dough Rise Slowly
Cover the bowl tightly with plastic wrap or a clean kitchen towel and leave the dough at room temperature for 12 to 18 hours. During this slow rise, the yeast works its magic, doubling the dough in size and developing those deep, complex flavors that make the Garlic Herb Dutch Oven Bread Recipe so irresistible.
Step 4: Shape the Dough on a Floured Surface
Once your dough has risen and looks puffy, generously flour your clean surface and carefully scrape the dough out. Shape it gently into a round loaf, being careful not to deflate all the air you’ve built up—it’s that air that gives the bread its light crumb.
Step 5: Rest the Dough on Oiled Parchment Paper
Transfer your shaped dough onto a piece of parchment paper lightly coated with olive oil to prevent sticking. Let it rest and rise a little more for 45 minutes to an hour, which will help develop a beautiful crust when baked.
Step 6: Preheat Your Dutch Oven
While your dough is resting, place your Dutch oven with its lid inside your oven and preheat to 450°F. A hot Dutch oven is key to creating the steamy environment needed for a perfect crust—that unbeatable crunch that makes this bread so special.
Step 7: Score and Bake Covered
Carefully lift the dough using the parchment paper and place it into the hot Dutch oven. Use a sharp knife to score the top of the dough with a few slashes—this helps it expand beautifully while baking. Cover it with the lid and bake for 30 minutes, locking in the steam and giving your bread its signature crust.
Step 8: Uncover and Finish Baking
Remove the lid and bake for an additional 15 to 20 minutes. This step crisps up the crust to a gorgeous golden brown, making it perfectly crispy on the outside yet tender and herbaceous on the inside.
Step 9: Cool Before Slicing
Once baked, transfer your loaf onto a wire rack and let it cool for at least 30 minutes. Cooling lets the crumb set nicely, so when you slice into your Garlic Herb Dutch Oven Bread Recipe, it won’t be gummy or doughy, just beautifully soft with those wonderful pockets created during the long rise.
How to Serve Garlic Herb Dutch Oven Bread Recipe
Garnishes
While this bread is fantastic on its own, a light brush of extra olive oil or a sprinkle of flaky sea salt right after baking elevates the aroma and taste. You can also add a bit of melted herb butter for an even more indulgent experience.
Side Dishes
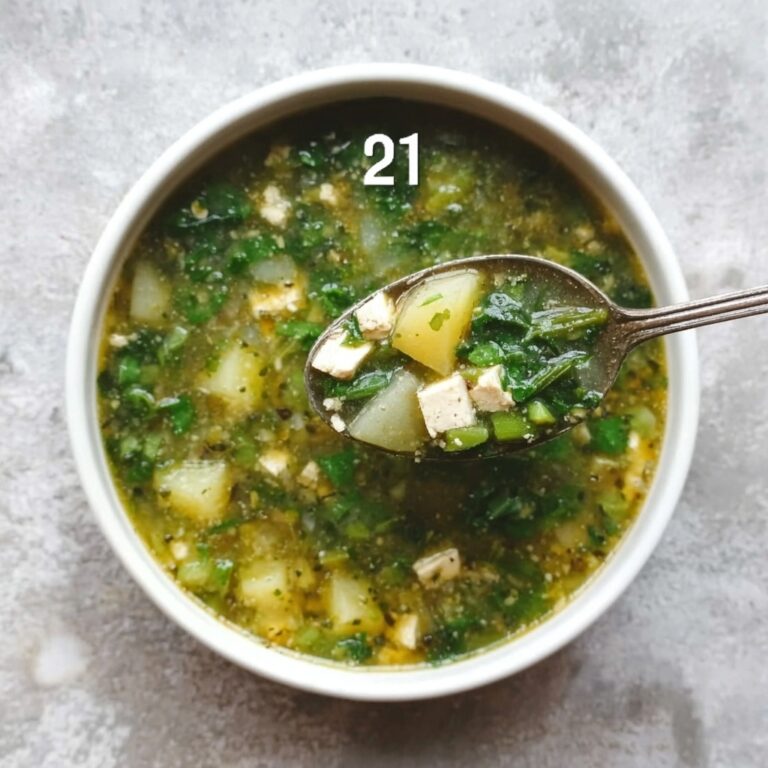
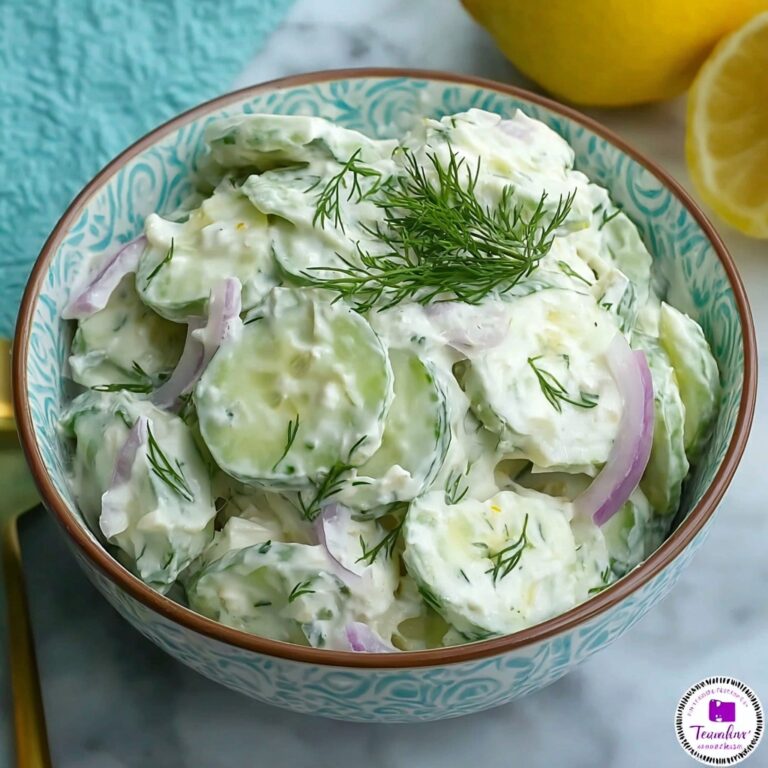
This Garlic Herb Dutch Oven Bread Recipe pairs perfectly with soups, stews, or a fresh salad. The garlicky, herbaceous notes beautifully complement savory dishes like tomato basil soup or creamy mushroom stew, making each meal feel cozy and complete.
Creative Ways to Present
Serve this bread sliced with a spreadable cheese plate, or turn it into garlic toast by toasting slices with a bit of butter and extra herbs under the broiler for a few minutes. You can also hollow out the center and use it as an edible bowl for dips or creamy spinach artichoke dip—your guests will be impressed!
Make Ahead and Storage
Storing Leftovers
To keep your Garlic Herb Dutch Oven Bread Recipe fresh, wrap the cooled loaf tightly in plastic wrap or store it in an airtight container. You can expect it to stay good for 3 to 4 days at room temperature, retaining that soft, flavorful crumb.
Freezing
If you want to enjoy this bread later, freezing is a great option. Wrap the loaf or individual slices in plastic wrap and place them in a freezer-safe bag. Frozen bread maintains great quality for up to 1 month.
Reheating
To revive the bread’s crisp crust and fresh-baked aroma, reheat slices in a toaster oven or regular oven at 350°F for 5 to 10 minutes. For whole loaves, loosely wrap in foil and warm for 10 to 15 minutes. This will bring back that magic of freshly baked bread every time.
FAQs
Can I use dried herbs instead of fresh for this Garlic Herb Dutch Oven Bread Recipe?
Yes, you can substitute dried herbs, but use about one-third of the amount since dried herbs are more concentrated. Fresh herbs give a brighter, more vibrant flavor, but dried herbs still work well.
Do I need a special Dutch oven for baking this bread?
A heavy, oven-safe Dutch oven with a lid is essential for creating the steam environment that results in a crisp crust. Cast iron works best, but any thick-walled, ovenproof pot with a tight-fitting lid will do.
Why is the dough so sticky?
The high hydration dough is meant to be sticky, which helps develop an open crumb with airy holes and a tender texture. Resist the urge to add excess flour; a sticky dough leads to better bread.
Can I speed up the rising time?
While you can speed things up by warming the dough slightly, the slow rise (12 to 18 hours) is what develops deep flavors and a perfect texture. For best results, plan ahead and allow the full rising time.
How do I know when the bread is fully baked?
The bread should be a deep golden brown and sound hollow when tapped on the bottom. Internal temperature should reach around 200°F for the ideal bake.
Final Thoughts
Trust me, once you make this Garlic Herb Dutch Oven Bread Recipe, you’ll wonder why you ever settled for store-bought bread again. The combination of roasted garlic, fresh herbs, and that beautifully crunchy crust invites you back for more with every slice. Give it a try and enjoy the simple joy of homemade bread filling your home with warmth and flavor.
“`
Print
Garlic Herb Dutch Oven Bread Recipe
- Prep Time: 20 minutes
- Cook Time: 50 minutes
- Total Time: 13 hours 10 minutes
- Yield: 12 servings
- Category: Bread
- Method: Baking
- Cuisine: American
Description
This Garlic Herb Dutch Oven Bread combines the rustic charm of homemade bread with the rich flavors of fresh garlic and mixed herbs. Baked in a Dutch oven, this artisan loaf features a crisp crust and a tender, airy interior, perfect for pairing with soups, salads, or enjoyed simply with butter. The long fermentation process enhances the dough’s flavor and texture, making it a satisfying and impressive bread to serve any day.
Ingredients
Dry Ingredients
- 3 cups all-purpose flour (plus extra for dusting)
- 2 teaspoons fine sea salt
- 1/2 teaspoon instant yeast
Wet Ingredients
- 1 1/2 cups lukewarm water (90-100°F)
- 4 cloves garlic (minced)
- 2 tablespoons fresh herbs (rosemary, thyme, or a mix)
- 1 tablespoon olive oil (for coating)
Instructions
- Mix dry ingredients and flavorings: In a mixing bowl, combine the all-purpose flour, fine sea salt, and instant yeast. Add the minced garlic and chopped fresh herbs to the mixture to evenly distribute the flavors into the dough.
- Add water and form dough: Pour in the lukewarm water and stir thoroughly until there is no dry flour left. The dough will be sticky and shaggy, which is normal for this type of bread.
- First rise: Cover the bowl tightly with plastic wrap or a damp towel and leave it at room temperature to rise for 12 to 18 hours. The dough should more than double in size, developing flavor and structure during this fermentation.
- Shape the dough: Generously flour your work surface and scrape the risen dough out onto it. Shape the dough into a rough round shape without kneading too aggressively to keep the airy texture intact.
- Second rise: Place the shaped dough on a piece of parchment paper that has been lightly coated with olive oil. Allow it to rest and rise for an additional 45 minutes to 1 hour to build volume before baking.
- Preheat Dutch oven: About 30 minutes before baking, place your Dutch oven with its lid inside your oven and preheat to 450°F (232°C). This step ensures the pot is very hot to create steam and a crusty exterior.
- Transfer dough to pot and score: Using the parchment as a sling, carefully lower the dough into the preheated Dutch oven. Use a sharp knife to score the top of the dough to allow for expansion during baking.
- Bake covered: Cover the Dutch oven with the lid and bake the bread for 30 minutes. This traps steam, promoting a crispy crust.
- Bake uncovered: Remove the lid and continue baking for an additional 15 to 20 minutes until the bread is a deep golden brown with a crisp crust.
- Cool before slicing: Carefully remove the bread from the Dutch oven and transfer it to a wire rack. Let it cool for at least 30 minutes to allow the interior to set before slicing and serving.
Notes
- For an even deeper garlic flavor, roast the garlic before mincing and adding it to the dough.
- The long fermentation time improves the bread’s flavor and texture, so do not shorten the rising period.
- Be sure your Dutch oven is oven-safe at 450°F to avoid damage or injury.
- Store leftover bread in a paper bag at room temperature to maintain crustiness.
- Use fresh herbs for best flavor; dried herbs can be substituted at a reduced amount (about 1 tablespoon).


