
“`html
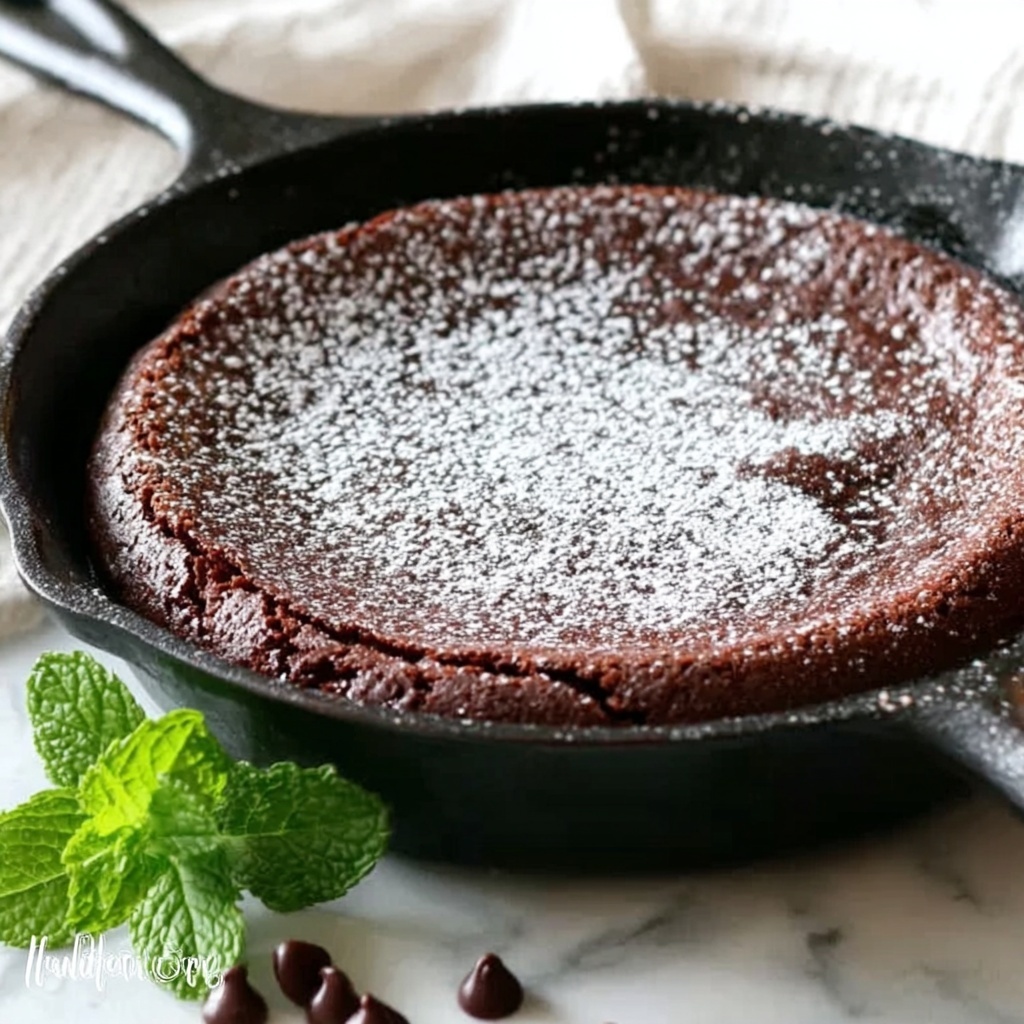
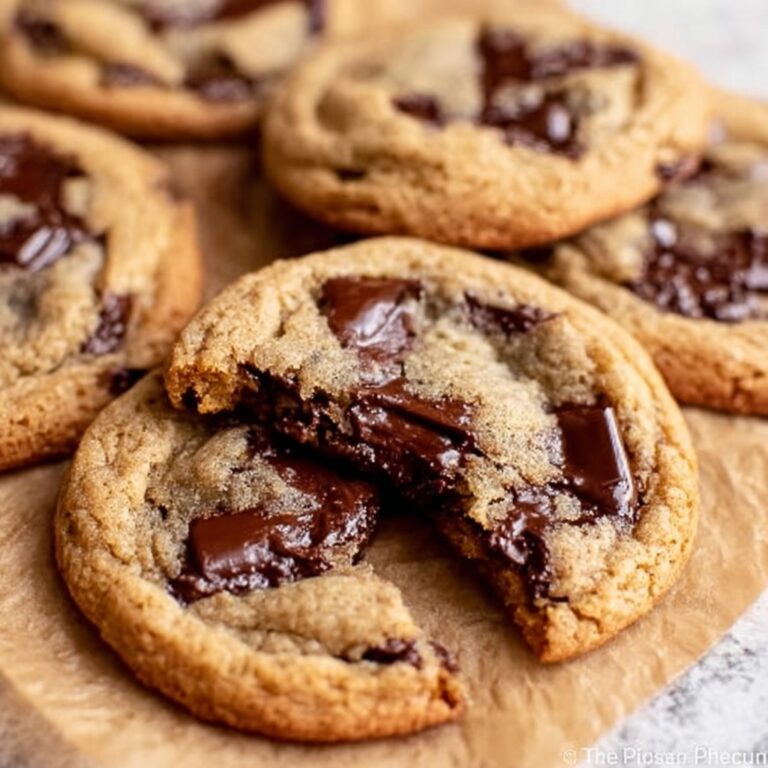
There’s something irresistibly luxurious about a homemade skillet treat that brings everyone to the table—and that’s exactly what you get with the Perfect Skillet Brownie | Crackly Top, Melt-in-Mouth Gooey Recipe. This brownie boasts a shiny, crackly top that shatters delightfully under your fork, revealing a warm, gooey center so luscious it practically melts in your mouth. It’s the ultimate comfort dessert, perfectly baked right in a cast iron skillet for that crispy edge and tender middle. Whether you’re craving an indulgent treat for yourself or aiming to impress friends, this recipe will quickly become your go-to favorite.
Ingredients You’ll Need
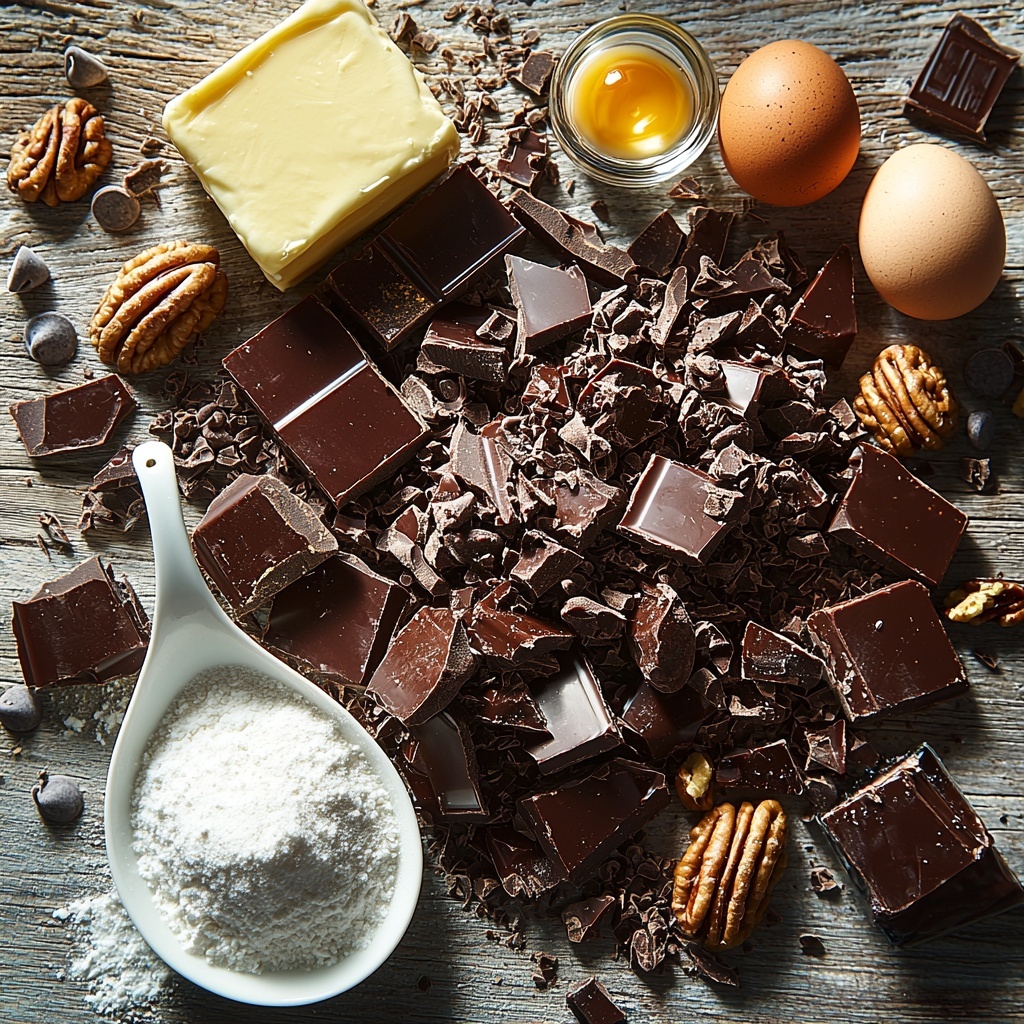
Getting started on this Perfect Skillet Brownie | Crackly Top, Melt-in-Mouth Gooey Recipe is surprisingly straightforward because each ingredient plays such an important role in creating its iconic texture and depth. From the rich chocolate that adds both flavor and melt-in-mouth richness, to the eggs that give structure while keeping it tender, here’s everything you need to make magic happen.
- 1 cup chopped semi-sweet or dark chocolate (60-70% cocoa): The heart of the brownie, this chocolate gives it that deep, indulgent flavor and fudgy texture.
- 1/2 cup unsalted butter: Adds richness and helps create a perfectly glossy, crackly surface.
- 1 cup granulated sugar: Sweetness with a slight crunch that contributes to the crackly top.
- 2 large eggs: Essential for binding and creating that melt-in-mouth softness inside.
- 1/2 cup all-purpose flour: Just enough to provide structure without sacrificing gooeyness.
- 1 teaspoon vanilla extract: Elevates the chocolate notes with a subtle warmth.
- 1/4 teaspoon salt: Enhances flavors, balancing the sweetness perfectly.
- Optional: extra chocolate chips, chopped nuts, or a swirl of peanut butter: These add texture and a fun twist—feel free to get creative!
How to Make Perfect Skillet Brownie | Crackly Top, Melt-in-Mouth Gooey Recipe
Step 1: Prepare Your Skillet and Oven
Begin by preheating your oven to 350°F (175°C) and lightly greasing a 9- or 10-inch cast iron skillet. This simple step is vital as it ensures your brownie releases easily and that the edges crisp up just right, which is part of the charm of this recipe.
Step 2: Melt the Chocolate and Butter
Combine the chopped chocolate and unsalted butter in a microwave-safe bowl or set up a double boiler. Melt gently until silky smooth, then let it cool just a bit. This mixture will be the luscious base that gives your skillet brownie its signature gooey center.
Step 3: Whisk Eggs and Sugar
In a large bowl, crack your eggs and add the granulated sugar. Whisk this pair energetically for 2-3 minutes until the mixture lightens in color and takes on a fluffy texture. This step is crucial to develop the crackly crust and airy lift.
Step 4: Combine Wet Ingredients
Slowly pour the chocolate and butter blend into the egg and sugar mixture, whisking continuously to keep it smooth and glossy. Stir in the vanilla extract and salt to deepen the flavor and balance sweetness beautifully.
Step 5: Add the Flour
Sift the all-purpose flour into your mixture to avoid lumps, then fold it in gently until just combined. The goal here is to keep the batter light—overmixing would take away the tender, fudgy quality that makes this recipe so winning.
Step 6: Transfer and Spread Batter in Skillet
Pour the rich batter evenly into your prepared skillet. Use a spatula to spread it out smoothly to the edges, ensuring every corner gets that perfect dose of gooey goodness and crispy crust.
Step 7: Bake to Perfection
Pop your skillet into the oven and bake for 25-30 minutes. You’re looking for set edges with a center that still jiggles slightly—a telltale sign that gooey magic awaits inside.
Step 8: Cool Before Serving
Patience is a virtue here! Allow your skillet brownie to cool completely on a wire rack for at least 1-2 hours. This step lets the gooey center set just enough to slice while preserving that melt-in-mouth texture you’re craving.
How to Serve Perfect Skillet Brownie | Crackly Top, Melt-in-Mouth Gooey Recipe
Garnishes
When it comes to garnishing this Perfect Skillet Brownie | Crackly Top, Melt-in-Mouth Gooey Recipe, simplicity shines. A dusting of powdered sugar adds a pretty contrast, while a sprinkle of flaky sea salt can highlight the chocolate’s richness. Fresh berries or a scoop of vanilla ice cream bring that perfect balance of cool and tart alongside the warm, decadent brownie.
Side Dishes
Serve this skillet brownie with a side of whipped cream or a drizzle of caramel or raspberry sauce to amp up the indulgence. For a delightful textural twist, pair it with crunchy candied nuts or a cup of freshly brewed coffee or espresso to complement the chocolate’s depth.
Creative Ways to Present
Consider serving your Perfect Skillet Brownie | Crackly Top, Melt-in-Mouth Gooey Recipe right from the skillet for a rustic, communal feel that invites sharing and conversation. For an elegant touch, plate individual wedges with a sprig of mint or a dollop of mascarpone cheese to impress any crowd.
Make Ahead and Storage
Storing Leftovers
Leftover skillet brownie keeps beautifully at room temperature when covered tightly with plastic wrap or foil for up to 2 days. Keeping it covered preserves that signature gooeyness while preventing it from drying out.
Freezing
You can freeze the entire cooled skillet brownie or individual slices wrapped well in plastic wrap and then in an airtight container. Frozen properly, it stays delicious for up to 3 months—perfect for saving a decadent treat for later.
Reheating
When reheating, the key is gentle warmth. Microwave individual slices for 15-20 seconds or warm the whole skillet in a low oven (about 275°F) for 10 minutes to bring back that freshly baked softness and almost molten center without overcooking.
FAQs
Can I use milk chocolate instead of semi-sweet or dark chocolate?
Absolutely! Milk chocolate will create a sweeter, less intense flavor and a softer texture, which some people prefer. Just keep in mind it may affect the crackly top slightly and make the brownie a bit softer.
Why does my skillet brownie not have a crackly top?
The crackly top comes from whisking the eggs and sugar until thick and pale, and baking at the right temperature. If the batter isn’t well aerated or the oven is too hot or cold, the top may not develop that signature glossy, crackly layer.
Can I make this recipe without a cast iron skillet?
You can bake this in any oven-safe pan, such as glass or metal, but the cast iron skillet adds unique heat distribution and crispy edges that elevate the texture and flavor in a way others can’t quite replicate.
How do I know when the brownie is done baking?
Look for set edges and a center that still jiggles gently when you give the skillet a little shake. The center will continue setting as it cools, so removing it a bit early ensures that gooey, melt-in-mouth magic.
Can I add mix-ins like nuts or peanut butter?
Yes! Adding chocolate chips, chopped walnuts or pecans, or even swirling in peanut butter before baking adds fun textures and flavor contrasts. Just be mindful not to overload the batter, which could affect baking times.
Final Thoughts
If you’re searching for a dessert that feels like a warm hug, the Perfect Skillet Brownie | Crackly Top, Melt-in-Mouth Gooey Recipe is ready to become your new obsession. Its combination of crisp, glossy top and indulgently soft center will win over anyone lucky enough to get a slice. Go ahead—grab your skillet and whip up a batch. You’ll find it’s truly the brownie that delivers every time, with love in every bite.
“`
Print
Perfect Skillet Brownie | Crackly Top, Melt-in-Mouth Gooey Recipe
- Prep Time: 15 minutes
- Cook Time: 30 minutes
- Total Time: 45 minutes
- Yield: 8 servings
- Category: Dessert
- Method: Baking
- Cuisine: American
Description
This Perfect Skillet Brownie recipe yields a crackly top with a melt-in-your-mouth gooey center, baked conveniently in a cast iron skillet. Rich with semi-sweet or dark chocolate and a buttery base, these brownies come together with simple ingredients and a straightforward method, perfect for an indulgent dessert that serves 8.
Ingredients
Main Ingredients
- 1 cup chopped semi-sweet or dark chocolate (around 60-70% cocoa)
- 1/2 cup unsalted butter
- 1 cup granulated sugar
- 2 large eggs
- 1/2 cup all-purpose flour
- 1 teaspoon vanilla extract
- 1/4 teaspoon salt
Optional Add-ins
- Extra chocolate chips
- Chopped nuts (walnuts, pecans)
- Swirl of peanut butter
Instructions
- Preheat and Prepare: Preheat your oven to 350°F (175°C) and lightly grease a 9- or 10-inch cast iron skillet to prevent sticking.
- Melt Chocolate and Butter: In a microwave-safe bowl or using a double boiler, melt together the chopped chocolate and unsalted butter until smooth. Set aside to cool slightly to avoid cooking the eggs later.
- Mix Eggs and Sugar: In a large bowl, whisk the eggs and granulated sugar vigorously for 2-3 minutes until the mixture lightens in color and thickens slightly to incorporate air.
- Combine Wet Mixtures: Gradually whisk the cooled chocolate and butter mixture into the egg and sugar blend until smooth. Add vanilla extract and salt, mixing well.
- Add Flour: Sift the all-purpose flour into the wet ingredients and gently fold it in just until combined, being careful not to overmix to keep the brownie tender.
- Prepare Skillet and Bake: Pour the batter evenly into the prepared skillet and smooth it out to the edges. If using optional add-ins, sprinkle or swirl them in now.
- Bake: Bake in the preheated oven for 25-30 minutes, until the edges are set but the center still jiggles slightly when moved, ensuring a gooey interior.
- Cool Before Serving: Let the brownie cool completely in the skillet on a wire rack for at least 1-2 hours before slicing to allow it to set properly for clean cuts.
Notes
- Using a cast iron skillet enhances heat distribution and helps achieve the signature crackly top.
- Allowing the batter to cool slightly before adding to eggs prevents scrambling.
- Do not overbake; the center should remain slightly underdone for that gooey texture.
- Cooling the brownie fully before slicing ensures cleaner slices and better texture.
- Feel free to customize with nuts, chocolate chips, or peanut butter swirl for added flavor and texture.


