
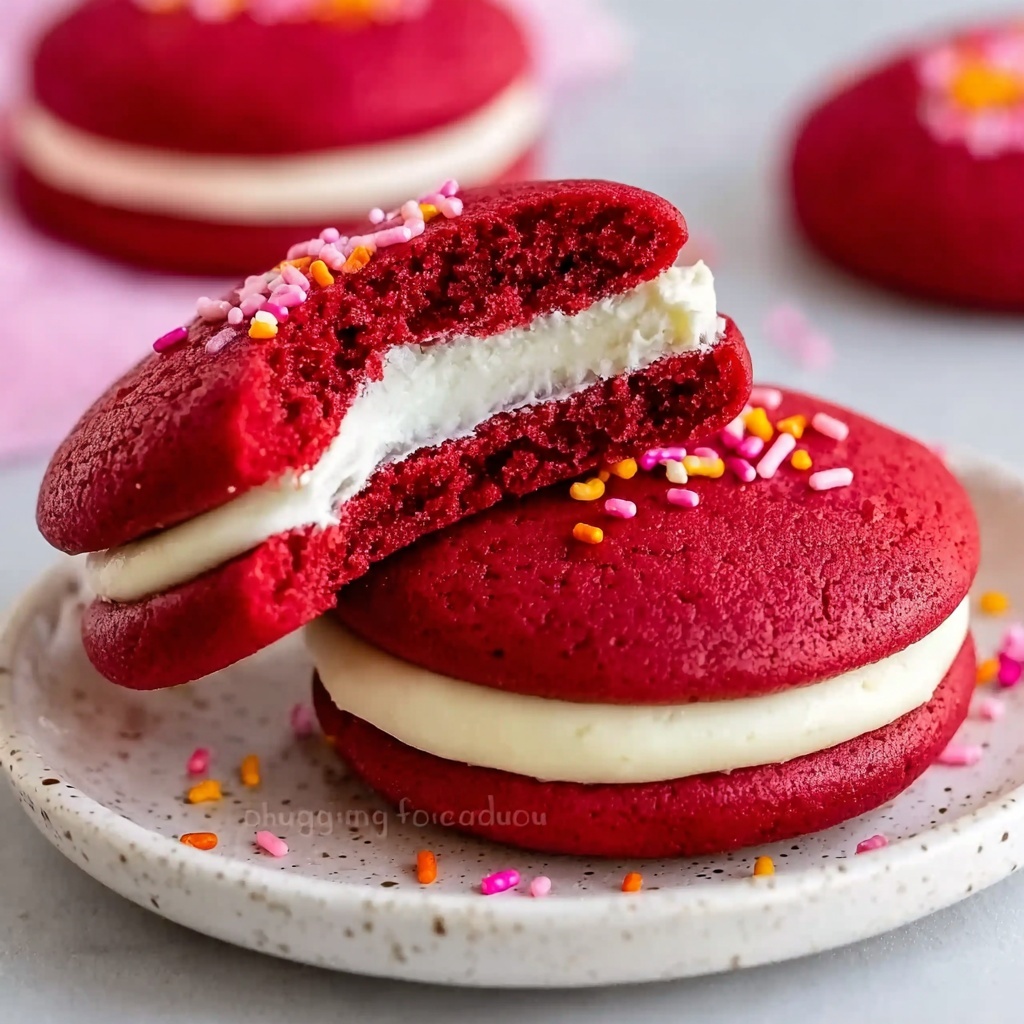
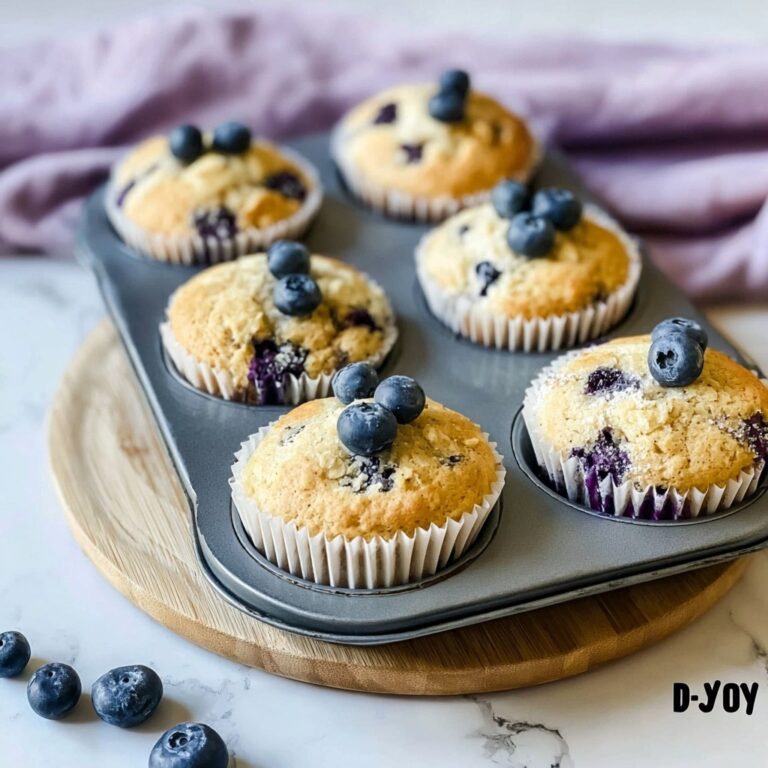
If you’re on the lookout for a dessert that’s as charming in appearance as it is delicious, the Red Velvet Whoopie Pies Recipe will quickly become your new favorite treat to bake and share. These soft, cake-like cookies sandwich a luscious cream cheese filling, marrying the classic flavors of red velvet cake with a fun, handheld twist. Whether it’s for a family gathering, a festive occasion, or just a cozy night in, these whoopie pies offer a perfect bite of rich cocoa and vibrant color complemented by a dreamy, tangy cream cheese center that never fails to impress.
Ingredients You’ll Need
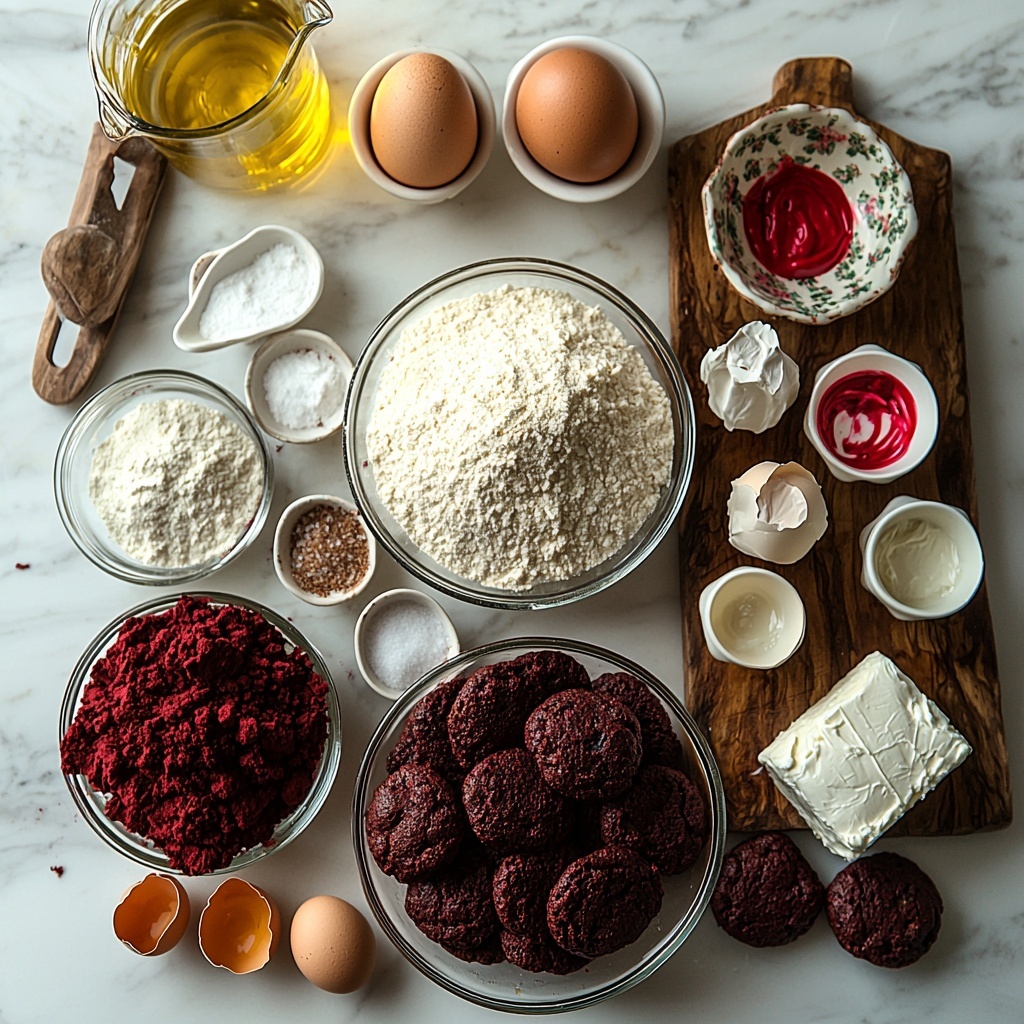
The beauty of this recipe lies in its straightforward ingredients, each one playing an essential role to bring out the distinctive taste and texture of the whoopie pies. From the moist crumb of the red velvet base to the creamy filling, every element is thoughtfully selected to create that signature balance you’ll crave.
- 2 cups all-purpose flour: Provides the perfect structure and softness for the whoopie pies.
- 1/2 cup cocoa powder: Adds a subtle chocolate depth that enhances the red velvet flavor without overpowering it.
- 1 cup granulated sugar: Sweetens the batter and helps with moisture retention.
- 1 tsp baking soda: Works as a leavening agent to give a light and fluffy texture.
- 1 tsp baking powder: Ensures the whoopie pies rise evenly and stay tender.
- 1/4 tsp salt: Balances the sweetness and enhances all the flavors.
- 3/4 cup vegetable oil: Keeps the cakes moist and buttery without heaviness.
- 1 cup buttermilk: Adds tang and tenderizes the crumb for that melt-in-your-mouth quality.
- 2 large eggs: Bind the ingredients together while enriching the flavor.
- 2 tbsp red food coloring: Gives the iconic bright red color, making these pies irresistible to the eye.
- 8 oz cream cheese (for filling): Provides that creamy, tangy filling essential to classic red velvet treats.
- 2 cups powdered sugar (for filling): Sweetens and thickens the filling into a smooth, luscious spread.
How to Make Red Velvet Whoopie Pies Recipe
Step 1: Preheat and Prepare
Begin by heating your oven to 350°F (175°C) and lining your baking sheets with parchment paper. This step ensures your whoopie pies bake evenly and don’t stick, making cleanup a breeze and keeping your cookies perfectly shaped.
Step 2: Mix Dry Ingredients
In a medium bowl, whisk together the flour, cocoa powder, baking soda, baking powder, and salt. This dry mix forms the base of your whoopie pies and makes sure each bite has the just-right chocolate undertone paired with the perfect rise.
Step 3: Combine Wet Ingredients
In a separate bowl, blend the granulated sugar with the vegetable oil until smooth and well mixed. Carefully add the eggs one at a time, stirring after each to maintain a uniform batter. Then, mix in the buttermilk and red food coloring for that iconic color and tang.
Step 4: Bring It All Together
Gently fold the dry ingredients into the wet, mixing just until combined. Overmixing can make your whoopie pies tough, so it’s best to stop as soon as the batter is smooth with no visible flour streaks.
Step 5: Scoop and Bake
Drop rounded tablespoons of batter onto your prepared baking sheets, making sure to space them at least two inches apart to allow room for spreading. Bake for 10-12 minutes, or until the tops spring back lightly when pressed. This will give you the perfect soft yet sturdy discs for your filling.
Step 6: Prepare the Filling and Assemble
While your whoopie pies cool completely, whip together the cream cheese and powdered sugar until silky and smooth. Once cooled, spread a generous dollop of the filling on the flat side of one cookie and sandwich it with another, forming that classic whoopie pie shape. Repeat until all your cookies are filled and ready to enjoy.
How to Serve Red Velvet Whoopie Pies Recipe
Garnishes
To add a little extra flair, try dusting your whoopie pies lightly with powdered sugar or decorating the edges of the filling with mini chocolate chips or finely chopped nuts. These touches elevate the presentation and add delightful texture contrasts.
Side Dishes
These whoopie pies pair wonderfully with a cold glass of milk, a cup of steaming coffee, or even a robust hot chocolate. Their rich flavor stands out best when complemented by drinks that balance sweetness with a bit of creaminess or bitterness.
Creative Ways to Present
For a festive occasion, wrap each Red Velvet Whoopie Pie individually in cellophane with a colorful ribbon. Alternatively, serve them stacked on a tiered cake stand for a stunning dessert display that invites guests to dig in. You can also experiment by adding a hint of cinnamon or espresso powder to the filling for an unexpected twist.
Make Ahead and Storage
Storing Leftovers
If you have any leftover Red Velvet Whoopie Pies, store them in an airtight container in the refrigerator. They will stay fresh for up to 4 days, allowing you to enjoy that creamy filling and tender cake texture even after the initial baking day.
Freezing
To keep these treats for longer, freeze the assembled whoopie pies individually wrapped in plastic wrap and placed in a freezer bag. They freeze beautifully for up to 2 months. Just thaw them overnight in the fridge before serving, and they’ll taste almost as fresh as when first made.
Reheating
If you prefer your whoopie pies slightly warm, pop them in the microwave for 10-15 seconds once thawed. This quick warm-up enhances the cream cheese filling’s softness and brings out the cake’s tenderness without drying them out.
FAQs
Can I make the Red Velvet Whoopie Pies Recipe without food coloring?
Yes, but the traditional red velvet appearance comes from the food coloring. Without it, the pies will be more of a chocolate-red brown color, which is fine if you prefer a more natural look, though they won’t have that iconic vibrant hue.
What’s the difference between a whoopie pie and a cupcake?
While whoopie pies might look like mini cupcakes when sandwiched, they differ mainly in texture and presentation. Whoopie pies are soft, cakey sandwich cookies with a creamy filling, while cupcakes are individual cakes with frosting piped on top.
Can I use cream cheese frosting instead of the filling recipe provided?
Absolutely! Cream cheese frosting works wonderfully as a filling, too. Just make sure it’s thick enough to hold the pies together without oozing out.
How do I prevent my whoopie pies from sticking to the baking sheet?
Using parchment paper or a silicone baking mat is the best way to keep your whoopie pies from sticking. Avoid greasing the pan, which can cause spreading and uneven baking.
Can I make the batter ahead of time?
Yes, you can prepare the batter a few hours ahead and keep it covered in the fridge. Give it a gentle stir before scooping to ensure even consistency.
Final Thoughts
Taking on the Red Velvet Whoopie Pies Recipe is like wrapping a warm hug in a dessert form. With simple ingredients and straightforward steps, these delightful treats bring a touch of joy to any moment. Once you taste that soft, colorful cake paired with creamy filling, you’ll understand why they are such a beloved classic. Grab your apron, bake a batch, and get ready to share some smiles with these irresistible whoopie pies.
Print
Red Velvet Whoopie Pies Recipe
- Prep Time: 10 minutes
- Cook Time: 12 minutes
- Total Time: 32 minutes
- Yield: 12 servings (6 whoopie pies)
- Category: Dessert
- Method: Baking
- Cuisine: American
- Diet: Vegetarian
Description
Delightful Red Velvet Whoopie Pies featuring soft, cocoa-infused cakes filled with a smooth and creamy cream cheese filling. These classic treats offer a perfect balance of rich flavor and fluffy texture, ideal for dessert or celebrations.
Ingredients
Cake:
- 2 cups all-purpose flour
- 1/2 cup cocoa powder
- 1 cup granulated sugar
- 1 tsp baking soda
- 1 tsp baking powder
- 1/4 tsp salt
- 3/4 cup vegetable oil
- 1 cup buttermilk
- 2 large eggs
- 2 tbsp red food coloring
Filling:
- 8 oz cream cheese, softened
- 2 cups powdered sugar
Instructions
- Preheat Oven: Preheat your oven to 350°F (175°C) and line baking sheets with parchment paper to prevent sticking and ensure easy cleanup.
- Mix Dry Ingredients: In a large bowl, whisk together the all-purpose flour, cocoa powder, baking soda, baking powder, and salt until evenly combined.
- Combine Wet Ingredients: In another bowl, mix granulated sugar and vegetable oil until fully combined. Then, add eggs one at a time, beating well after each addition. Stir in the buttermilk and red food coloring until the mixture is smooth and consistent.
- Combine Wet and Dry: Gradually add the dry ingredients to the wet ingredients, mixing gently until just incorporated. Avoid over-mixing to keep the cakes tender.
- Portion Batter: Drop rounded tablespoons of batter onto the prepared baking sheets, spacing each about two inches apart to allow for spreading during baking.
- Bake: Bake the cookies for 10-12 minutes, or until they spring back when lightly touched, indicating they are done but still moist inside.
- Cool: Remove the baking sheets from the oven and allow the cakes to cool completely on wire racks before assembling the whoopie pies.
- Prepare Filling: In a bowl, beat the softened cream cheese until smooth. Gradually add the powdered sugar and continue to beat until the filling is creamy and fluffy.
- Assemble Whoopie Pies: Spread or pipe an even amount of cream cheese filling onto the flat side of one cake and sandwich with another. Repeat with remaining cakes and filling.
- Serve and Store: Serve immediately or refrigerate until ready to enjoy. These pies can be stored in an airtight container in the fridge for up to 3 days.
Notes
- Ensure the cream cheese is softened to avoid lumps in the filling.
- Do not over-mix batter to keep cakes light and fluffy.
- Spacing the batter properly on baking sheets prevents the cakes from merging during baking.
- Allow cakes to cool completely to prevent filling from melting.
- For a more intense red color, increase the red food coloring slightly.


