
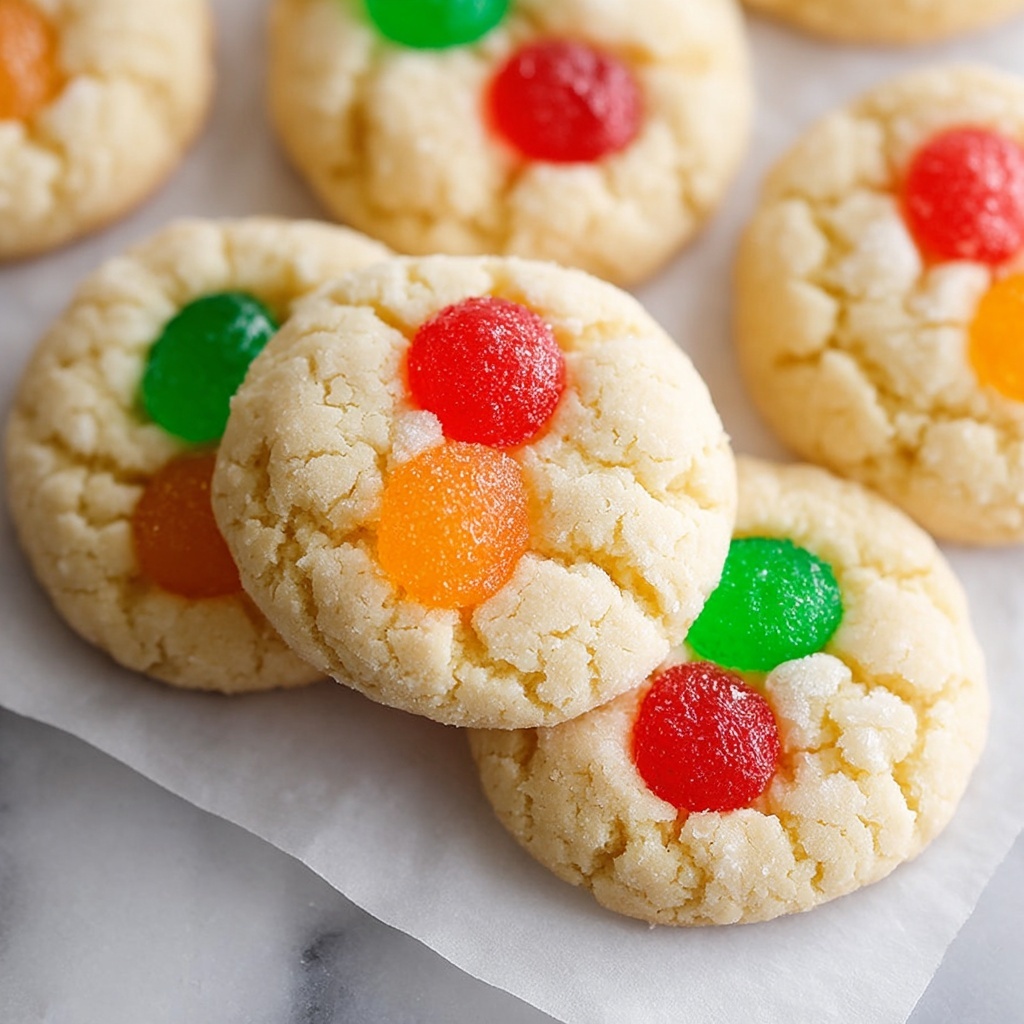
If you’re looking to bring a heartwarming touch of nostalgia to your holiday baking, this Retro Christmas Gumdrop Cookies Recipe is exactly what you need. These delightful treats combine soft, buttery cookie dough with bursts of chewy, colorful gumdrops that sparkle with festive cheer in every bite. Perfect for sharing around the tree or gifting to neighbors, these cookies not only evoke fond memories from Christmases past but also create new ones with their joyful texture and flavor. Let me walk you through the magic of this Retro Christmas Gumdrop Cookies Recipe—once you try it, it will surely become a cherished holiday tradition.
Ingredients You’ll Need
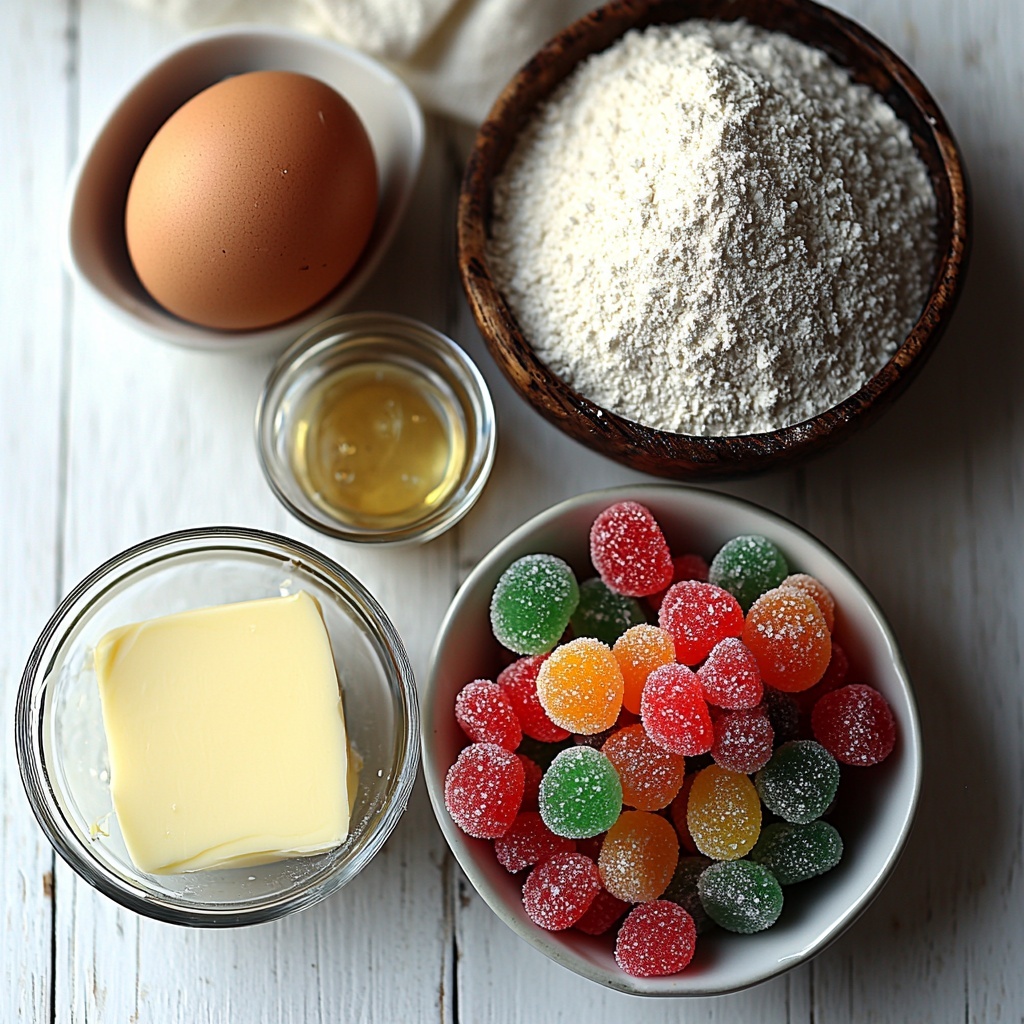
Gathering your ingredients for this Retro Christmas Gumdrop Cookies Recipe is wonderfully straightforward. Each component plays a vital role, whether adding richness, sweetness, or that iconic chewy pop of color from the gumdrops. The simplicity of the list ensures you won’t be overwhelmed, yet the combination results in a cookie that’s bursting with holiday spirit.
- 1 cup unsalted butter, softened: Provides a rich, creamy base that keeps the cookies tender.
- 1 cup granulated sugar: Sweetens the dough perfectly without overpowering other flavors.
- 1 large egg: Binds the ingredients and adds moisture for a soft texture.
- 1 teaspoon vanilla extract: Infuses warmth and depth into the batter.
- 2 1/4 cups all-purpose flour: Creates the structure of the cookie for that classic chewiness.
- 1/2 teaspoon baking soda: Helps the cookies rise just enough to stay tender.
- 1/4 teaspoon salt: Enhances all the other flavors and balances the sweetness.
- 1 cup fruit-flavored gumdrops, chopped and floured: Brings bursts of fruity sweetness and festive color—tossing in flour prevents them from sinking.
How to Make Retro Christmas Gumdrop Cookies Recipe
Step 1: Prepare the Gumdrops
Begin by chopping your gumdrops into small, bite-sized pieces. To prevent these colorful gems from sticking together or settling at the bottom of the dough, lightly toss them in flour. This simple trick keeps every bite beautifully studded with fruity cheer.
Step 2: Cream Butter and Sugar
In a large mixing bowl, cream together the softened butter and granulated sugar until your mixture turns pale and fluffy. This step is essential—it not only dissolves the sugar but also traps air to help give your cookies a light, tender crumb.
Step 3: Add Egg and Vanilla
Mix in the egg and vanilla extract until fully combined and smooth. These ingredients enrich the dough, contributing to the classic soft texture and that comforting vanilla aroma that defines this recipe.
Step 4: Combine Dry Ingredients
Whisk together the all-purpose flour, baking soda, and salt in a separate bowl. Blending these dry ingredients separately ensures even distribution, which helps your cookies bake uniformly.
Step 5: Mix Dry Into Wet
Gradually incorporate the dry ingredients into your creamed butter and sugar mixture. Stir gently until a soft dough forms, taking care not to overmix, which can make the cookies tough.
Step 6: Fold in Chopped Gumdrops
Carefully fold in the floured gumdrop pieces. This step is where the magic happens as those juicy pops of fruit get evenly distributed throughout your dough, promising delightful bursts of flavor in every bite.
Step 7: Chill the Dough (Optional)
For more defined cookie shapes and less spreading during baking, refrigerate the dough for 30 minutes. While this step is optional, it can make your Retro Christmas Gumdrop Cookies Recipe even more picture-perfect.
Step 8: Prepare Oven and Baking Sheets
Preheat your oven to 350°F (175°C) and line your baking sheets with parchment paper. This ensures your cookies bake evenly and clean up is a breeze.
Step 9: Scoop the Dough
Scoop the dough into tablespoon-sized balls, spacing them about two inches apart on the baking sheets. Giving the cookies room allows them to bake evenly and develop those lovely golden edges.
Step 10: Bake
Bake for 9 to 11 minutes or until the edges turn a gentle golden color and the centers are just set. Keep a close eye during the last few minutes to avoid overbaking—the perfect cookie should be soft and chewy.
Step 11: Cool
Let the cookies cool on the baking sheet for five minutes before transferring them to a wire rack to cool completely. This step sets their shape and allows the flavors to meld beautifully.
How to Serve Retro Christmas Gumdrop Cookies Recipe
Garnishes
For an extra festive touch, consider dusting your cookies lightly with powdered sugar or decorating the edges with a thin drizzle of white chocolate. These simple garnishes elevate the cookies for special holiday parties without overshadowing those vibrant gumdrops that make this recipe so adored.
Side Dishes
These cookies pair wonderfully with warm beverages. Serve them alongside mugs of hot cocoa topped with whipped cream or a cinnamon-spiced latte. Their sweetness and chewy texture balance perfectly with rich, creamy drinks to create a cozy holiday snack.
Creative Ways to Present
Wrap your Retro Christmas Gumdrop Cookies Recipe in festive cellophane with colorful ribbons to make charming homemade gifts. You can also stack them between layers of parchment paper in a decorative tin for an attractive presentation at family gatherings. Their cheerful colors make them a natural centerpiece on any holiday cookie tray.
Make Ahead and Storage
Storing Leftovers
Store any extra cookies in an airtight container at room temperature to maintain their soft texture. They will stay fresh and delicious for up to a week, making them great for enjoying throughout the holidays or sharing with friends.
Freezing
If you want to prepare in advance, these cookies freeze beautifully. Place cooled cookies in a single layer on a baking sheet, freeze until solid, then transfer to a freezer-safe container or bag. They will keep well for up to three months and thaw quickly to their original soft, chewy glory.
Reheating
To refresh a cookie’s soft texture, warm it briefly in the microwave for about 10 seconds or place it in a 300°F oven for a few minutes. This gentle reheating brings back that just-baked warmth that’s so comforting during chilly winter days.
FAQs
Can I substitute the gumdrops with other candies?
Absolutely! While gumdrops add a classic festive look and texture, you can swap them with chopped dried fruits or colorful chocolate chips for a different twist. Just be mindful that the candy’s moisture content might affect the cookie’s texture slightly.
Do I have to chill the dough before baking?
Chilling the dough is optional but recommended if you want your cookies to hold their shape better and spread less during baking. If you’re short on time, you can skip this step and still enjoy delicious cookies.
How do I prevent gumdrops from sinking to the bottom?
Tossing the chopped gumdrops in flour before folding them into the dough is a simple trick that helps suspend them evenly throughout the cookie. This keeps each cookie beautifully dotted with colorful bits.
Can I make these cookies gluten-free?
Yes, by substituting the all-purpose flour with a suitable gluten-free flour blend. Just be sure to check the blend’s ingredients and adjust baking times as needed since gluten-free doughs behave a bit differently.
What is the best way to store the cookies for gift-giving?
Stack the cookies between layers of parchment paper in an airtight container or decorative tin. Adding a festive ribbon around the tin makes an elegant and thoughtful gift that will brighten anyone’s holiday season.
Final Thoughts
There is something truly special about the Retro Christmas Gumdrop Cookies Recipe—it’s a sweet nod to holiday traditions wrapped up in chewy, colorful goodness. Whether you’re baking to celebrate with family or spreading festive joy with gifts, these cookies are a surefire way to fill your kitchen with warmth and smiles. I encourage you to try this recipe and watch as it becomes a beloved holiday staple in your home for years to come.
Print
Retro Christmas Gumdrop Cookies Recipe
- Prep Time: 15 minutes
- Cook Time: 11 minutes
- Total Time: 31 minutes
- Yield: 24 servings
- Category: Dessert
- Method: Baking
- Cuisine: American
Description
These Retro Christmas Gumdrop Cookies are a festive and colorful treat, perfect for holiday celebrations. Soft and chewy sugar cookies studded with vibrant fruit-flavored gumdrops bring a nostalgic charm to your cookie platter. They’re lightly sweet, buttery, and easy to bake, ideal for sharing with family and friends during the holiday season.
Ingredients
Cookie Dough
- 1 cup unsalted butter, softened
- 1 cup granulated sugar
- 1 large egg
- 1 teaspoon vanilla extract
- 2 1/4 cups all-purpose flour
- 1/2 teaspoon baking soda
- 1/4 teaspoon salt
Gumdrops
- 1 cup fruit-flavored gumdrops, chopped and floured
Instructions
- Prepare the Gumdrops: Chop the gumdrops into small pieces and toss them with a bit of flour to prevent sticking during baking.
- Cream Butter and Sugar: In a large bowl, cream together the softened butter and granulated sugar until the mixture is light and fluffy, which usually takes about 2-3 minutes with a mixer.
- Add Egg and Vanilla: Beat in the egg and vanilla extract until the batter is smooth and well combined.
- Mix Dry Ingredients: In a separate bowl, whisk together the all-purpose flour, baking soda, and salt.
- Combine Ingredients: Gradually add the dry ingredients into the wet mixture, stirring until a soft dough forms without overmixing.
- Fold in Gumdrops: Gently fold in the floured gumdrop pieces evenly throughout the dough to ensure they don’t clump.
- Chill the Dough (Optional): For better cookie shape and less spreading, chill the dough in the refrigerator for 30 minutes before baking.
- Preheat Oven and Prepare Baking Sheet: Preheat your oven to 350°F (175°C). Line baking sheets with parchment paper to prevent sticking.
- Scoop Dough: Using a tablespoon or cookie scoop, portion the dough into tablespoon-sized balls and place them about 2 inches apart on the baking sheets.
- Bake: Bake the cookies for 9 to 11 minutes, or until the edges are golden and the centers are just set but still soft.
- Cool: Allow the cookies to cool on the baking sheet for 5 minutes before transferring them to a wire rack to cool completely, ensuring they firm up perfectly.
Notes
- Chilling the dough is optional but recommended to prevent excessive spreading and maintain cookie shape.
- Flouring the gumdrops helps keep them from melting into the dough and clumping together.
- Store cookies in an airtight container at room temperature for up to one week.
- You can substitute gumdrops with chopped dried fruit or candy pieces if desired.


